How to Get Rid of Popcorn Ceiling: A Complete Guide for Safe, DIY Removal
To get rid of popcorn ceiling safely, start by testing for asbestos if your home is older than 30 years, then choose a wet scraping or drywall sanding method with proper safety gear. Prepare your room well, follow step-by-step removal and repair instructions, and consider professional help if the project seems too big or risky. This process includes removal, repairing, priming, and painting to restore your ceiling’s smooth finish.
This guide is for homeowners, DIY enthusiasts, renters, and small contractors who want clear, practical advice on how to get rid of popcorn ceiling. Expect tips on identifying asbestos risk, safe removal techniques, protective gear, budgeting, timing, and alternatives to full removal for your next renovation project.
Key Takeaways
- Check for asbestos in popcorn ceilings installed before 1980 by testing to avoid health risks during removal.
- Use a pump sprayer with hot water to mist 4×4-foot ceiling sections and wait about 10, 15 minutes before scraping.
- Wear safety gear like goggles, gloves, and a dust mask to protect yourself from debris and dust during removal.
- Apply the wet scrape method by misting, waiting, then gently scraping the popcorn texture off the ceiling.
- Sanding drywall should only be done after removing popcorn to smooth the surface, using a sanding block or pole sander with dust control.
- Repair any damage, then prime and paint the ceiling to finish the renovation and improve durability and appearance.
What Is a Popcorn Ceiling and Should You Remove It?
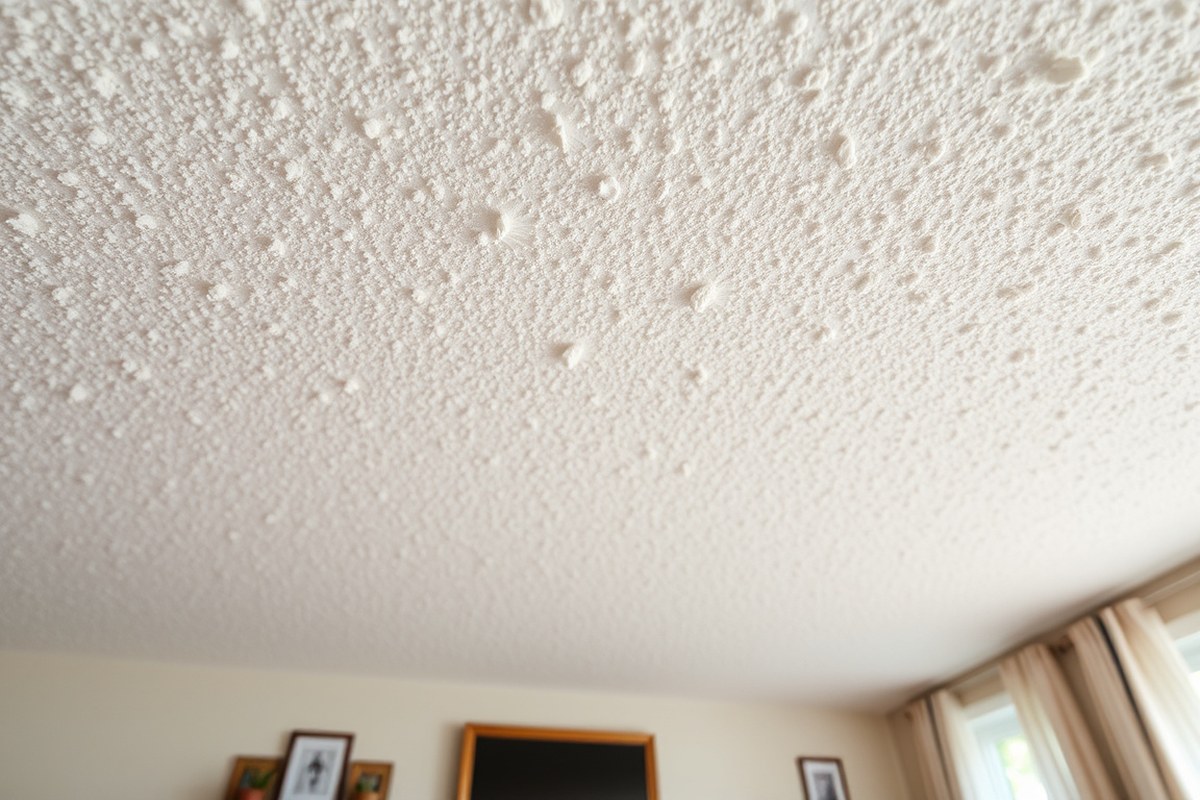
Popcorn ceilings, also called acoustic or cottage cheese ceilings, originated in the 1950s and 1960s. They were popular because their bumpy texture helped hide imperfections, reduce noise, and were easy to apply. Builders also relied on popcorn ceilings as a low-cost method to mask uneven drywall or plaster. However, homes constructed before 1980 may have popcorn ceilings that contain asbestos, a hazardous material that requires professional testing before removal.
Today, many homeowners choose to remove popcorn ceilings to update their homes and improve indoor air quality. The bumpy surface tends to trap dust, dirt, and allergens, making it harder to clean compared to smooth ceilings. Removing this texture can brighten a room by creating a more even surface that reflects light better. Another key benefit is reducing health risks associated with dust and potential lingering asbestos fibers in older ceilings.
Removing a popcorn ceiling can also increase your home’s resale value, although this depends on market preferences. Many modern buyers prefer smooth, fresh-looking ceilings, finding popcorn texture outdated. When planning to sell your home, investing in popcorn ceiling removal may make your property more appealing and could attract higher offers. This is especially true where other homes have updated interiors. Costs for professional removal generally range from $1 to $2 per square foot, with an average project costing around $1,700 for a typical home. DIY removal can take a few hours for a standard room but requires careful preparation to avoid damage.
Choosing to remove a popcorn ceiling is more than a cosmetic change. It involves considering the age of your home, potential asbestos testing, cleaning benefits, and how much you want to improve your home’s look and value. For homeowners with older ceilings, confirming safety first with a test is critical before any removal work begins. For newer homes without asbestos risk, removal creates a clean, modern finish that feels brighter and simpler to maintain.
How to Identify Asbestos Risk and Testing Options Before Removal
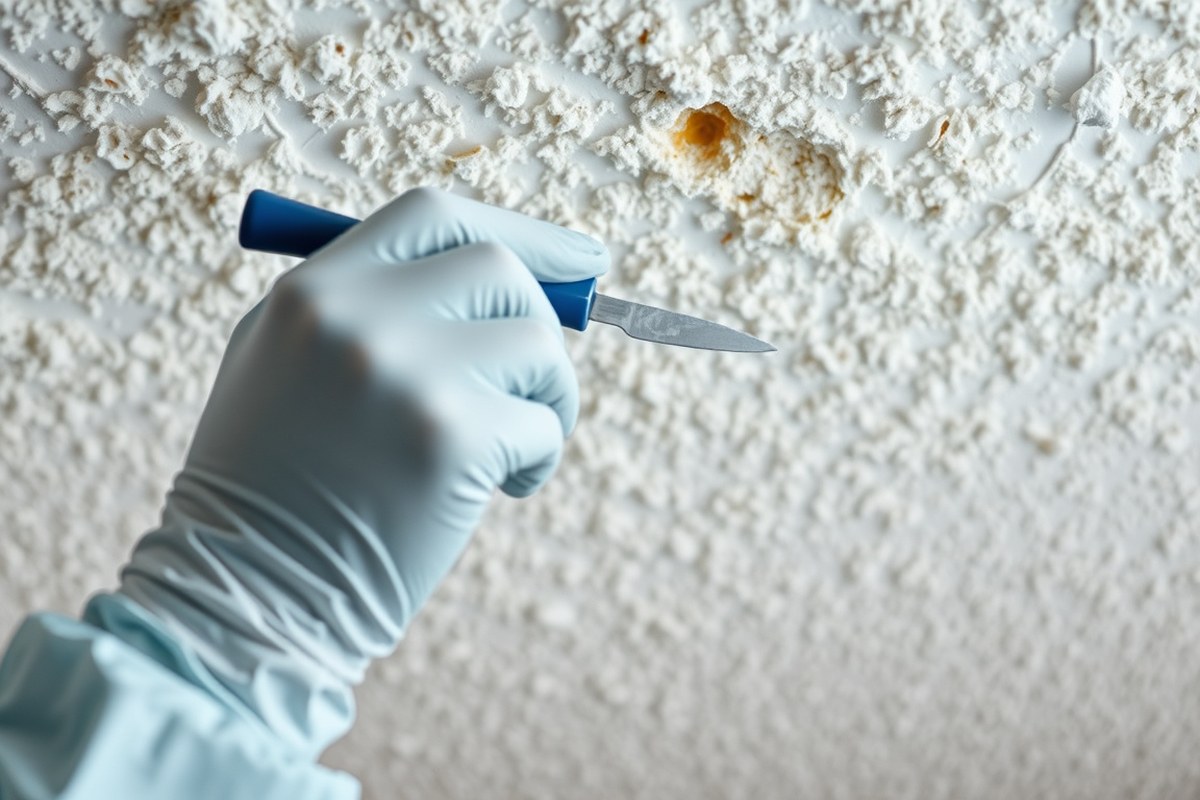
Popcorn ceilings installed before 1979 often contain asbestos, a hazardous material banned that year due to health risks linked to breathing in its fibers. To determine if your ceiling contains asbestos, start by identifying the home’s build date; ceilings from the 1950s through the 1970s have a higher likelihood of asbestos presence. The safest approach is to get a sample tested before any removal work to avoid disturbing asbestos-laden material yourself.
Testing involves collecting a small ceiling sample and sending it to a certified laboratory. You can either purchase an asbestos test kit from a local home improvement store or contact your local health department to handle the sample collection and testing. Sending the sample to a lab usually costs between $50 and $150, depending on your area and test method. Some labs accept mail-in samples, which can make testing more convenient. Always follow detailed instructions from the test kit or health agency on safely collecting the sample to prevent contamination or exposure during collection.
Once testing confirms the presence or absence of asbestos, plan your next steps carefully. If asbestos is absent, you may proceed with DIY popcorn ceiling removal using appropriate safety gear and dust control methods. However, if the test is positive for asbestos, professional handling becomes necessary. Asbestos removal requires licensed abatement contractors trained and equipped to contain and dispose of hazardous material in compliance with federal and local regulations. DIY removal of asbestos-containing popcorn ceilings is unsafe and typically illegal due to health hazards and possible contamination.
Before testing or removal, check with your local building or health department regarding permits and regulations. Many jurisdictions require notifying authorities before disturbing asbestos materials and restrict removal methods to licensed professionals. They may also provide guidance on approved contractors and proper disposal procedures. Some states impose fines for improper asbestos removal or disposal, so verifying legal requirements is essential for safety and compliance.
Never scrape or sand a popcorn ceiling suspected of containing asbestos without professional guidance, this can release toxic fibers that put your health at serious risk.
To summarize the decision process: if your home was built before 1979, obtain an asbestos test to ensure safe removal. Testing costs are moderate, and local health offices can often assist or recommend certified labs. A negative result allows for DIY removal, but a positive result means hiring licensed asbestos abatement experts to protect your health and comply with laws. Knowing the materials and legal rules upfront prevents costly mistakes and health hazards during popcorn ceiling removal.
Preparing Your Room and Choosing Safety Gear for Ceiling Removal
Removing a popcorn ceiling creates a lot of dust and debris, so preparing your room carefully helps minimize mess and protects your belongings. Start by clearing as much furniture out as possible. Cover any remaining items, along with the floors and walls, with heavy-duty plastic sheeting to catch falling material and dust. Use painter’s tape to secure the plastic and seal gaps around windows and doorways, limiting dust spread to other areas of your home. You’ll also want to turn off HVAC systems or cover vents to prevent dust circulation. Spraying the floor occasionally with water during removal helps keep dust down.
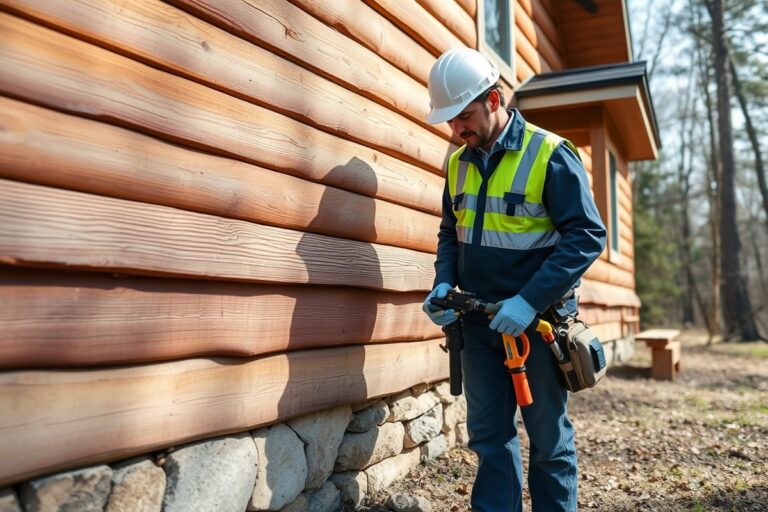
Wearing the right safety equipment is important because scraping releases airborne particles. Use a properly fitting N95 respirator mask to avoid breathing in dust. A disposable Tyvek suit with a hood helps shield your skin and clothes. Protect your eyes with goggles to keep dust away. Gloves provide extra protection, particularly if you apply chemicals to loosen the popcorn ceiling material. Homes built before the early 1980s might contain asbestos, so getting professional testing and removal is highly advised to prevent health hazards.
Consider season and weather when planning removal. Mild, dry weather allows you to open windows and maintain good ventilation, which helps control dust and fumes. Avoid very humid days because excess moisture may affect ceiling texture and drying times after spraying water. Cooler temperatures around 60 to 75°F are ideal when using water to wet the ceiling, as the ceiling will soften faster and the mess remains more manageable.
- Remove or cover all furniture and valuables with plastic sheeting
- Use heavy-duty plastic on floors, walls, and fixtures, sealed with painter’s tape
- Wear a tight-fitting N95 respirator mask, goggles, gloves, and a Tyvek suit
- Turn off HVAC or cover vents to prevent dust spread
- Use a garden sprayer to wet the ceiling periodically during removal
- Choose mild, dry weather and moderate temperatures for better results
- Have asbestos testing done if your home was built before 1980
These steps reduce the risk of dust damage, help contain the mess, and protect your health. Skipping protective measures leads to widespread dust that settles on surfaces and is hard to clean. Without proper gear, inhaled dust may cause irritation or worsen allergies. Containing the work area also limits cleanup needs, saving time and expense. Investing an hour in room prep and safety gear makes the popcorn ceiling removal process safer, cleaner, and more efficient for homeowners and DIYers alike.
Wet Scrape Method: Step-by-Step Popcorn Ceiling Removal Guide
The wet scrape method is the most common DIY way to remove popcorn ceilings. It works by softening the texture with water, then carefully scraping it off to reveal the smooth ceiling underneath. This method is effective for unpainted popcorn ceilings but requires the right tools and technique to avoid damaging drywall.
Essential Tools for Wet Scraping
You will need a few specific tools to complete popcorn ceiling removal with the wet scrape method. A garden sprayer or a spray bottle filled with water helps wet the popcorn texture evenly. Use a wide putty knife or ceiling scraper to gently remove the softened material without gouging the drywall. Plastic sheeting or drop cloths protect furniture and floors from mess, while safety goggles and a dust mask guard your eyes and lungs. A step ladder or scaffold assists in reaching all parts of the ceiling safely.
For larger projects, consider a pole scraper to reduce strain and reach further. A sponge and bucket with clean water also come in handy for occasional rinsing or wiping residual material. When your ceiling repair requires it, have patching compound and sanding blocks ready to smooth minor surface damage after scraping.
Step-by-Step Wet Scrape Process
Follow these steps carefully to minimize ceiling damage while removing popcorn texture:
- Clear the room or cover furniture and floors with plastic sheeting to catch debris and protect surfaces from water and dust.
- Use a garden sprayer or spray bottle to mist a 4- to 6-foot section of popcorn ceiling with water. Let it soak for 15 to 20 minutes to soften the texture.
- Gently test the texture by scraping with a putty knife or ceiling scraper at a low angle. When it peels off easily, continue scraping the entire wet section.
- Work in small sections, rewetting areas as needed before scraping to keep the texture soft and pliable.
- Remove all loosened material before moving on to the next section to maintain a manageable work area and avoid drying out the ceiling.
- Inspect the drywall surface underneath for any gouges or damage. Lightly patch, sand, and smooth these areas before painting.
- Allow the ceiling to dry fully before priming and painting your newly smooth surface.
The process takes several hours for an average 300 square foot ceiling. Expect some trial and error to find the best wetting time and scraping angle. Too much force or a sharp blade can damage drywall, resulting in extra work to fix before finishing.
Dealing with Painted or Tough Ceilings
The popcorn texture may not soak in water or soften if the ceiling is painted or sealed. Painted popcorn ceilings resist wetting, making the wet scrape method ineffective. In these cases, scraping is much harder and often rough on drywall. You might notice the paint flakes or chips, but the texture remains sticky or firmly attached.
When facing painted ceilings, consider renting a drywall sanding system or hiring a professional. These systems use dustless sanding and special vacuums to gently remove the texture and paint without flooding the ceiling with water. Another option is covering the ceiling with new drywall or wood paneling, which requires less cleanup but adds cost and reduces ceiling height.
For unpainted but stubborn areas, apply water again and let it soak longer, up to 30 minutes. Use a wider putty knife and scrape gently to prevent gouging. Should the popcorn still not come off cleanly, pause to consider alternative removal or covering methods to avoid costly repairs later.
Drywall Sanding Method: When and How to Use It Safely
Drywall sanding removes popcorn texture by lightly sanding the ceiling to smooth the surface after partial removal or on painted popcorn ceilings where scraping doesn’t work well. It works best on ceilings with paint over the popcorn or when only a light texture reduction is needed. Proper tools and safety gear are essential to handle the dust and avoid damage.
Tools and Equipment for Sanding Popcorn
You’ll need a drywall sander fitted with 120 grit sandpaper or sanding screens for a smoother finish without excessive damage. An extension pole helps you reach the ceiling comfortably. A shop vacuum with a dust collection system connected to the sander minimizes airborne dust. After sanding, wipe the ceiling with a damp cloth to remove any remaining dust.
Protective gear includes a respirator rated for fine dust, safety goggles, and disposable coveralls to guard your lungs, eyes, and clothing. Using these tools and gear not only improves the results but also helps keep your workspace cleaner and safer.
When to Choose Sanding vs Wet Scraping
Wet scraping works better for popcorn ceilings that are loosely adhered and not painted, since moisture softens the texture for easy removal. Sanding suits painted popcorn ceilings or cases where scraping failed or risked drywall damage. For popcorn ceilings that only need smoothing, sanding can be less invasive.
Replacing drywall entirely may be less messy and offer a better finish than sanding or scraping, but it involves more cost and installation time. Professionals often recommend sanding only as a follow-up to scraping or on painted surfaces to avoid tearing up the drywall.
Choosing sanding depends on your ceiling’s condition, your tolerance for dust and mess, and your comfort with the time investment. Sanding typically takes several hours for an average-sized room and costs $50 to $150 for rental equipment plus consumables.
Dust Control and Safety Measures
Sanding popcorn ceilings generates a lot of fine dust that can irritate your respiratory system. Always wear a respirator designed for dust, not just a paper mask. Close all doors and vents to contain dust, and cover floors and furniture with plastic sheeting. Use a drywall sander equipped with dust collection to reduce airborne particles significantly.
After finishing, damp-wipe all surfaces to clean residual dust. Proper ventilation is important, but avoid fans that blow dust around the house. Depending on the drywall sander, dust collection can eliminate up to 80% of the dust when used correctly, making post-work cleanup easier.
| Method | Best For | Tools Needed | Pros | Cons |
|---|---|---|---|---|
| Drywall Sanding | Painted popcorn ceilings, smoothing after scraping | Drywall sander, 120 grit screens, respirator | Less drywall damage, smooth finish | Produces fine dust, labor intensive |
| Wet Scraping | Unpainted popcorn, loosely attached texture | Water sprayer, scraper, drop cloths | Removes texture more completely | Can damage drywall, messy |
| Drywall Replacement | Old or damaged drywall, difficult popcorn | New drywall sheets, joint compound, paint | Best finish, hides popcorn entirely | Higher cost and effort |
Always test for asbestos before sanding or scraping and wear a proper respirator even if you believe the ceiling is asbestos-free.
Repairing, Priming, and Painting After Popcorn Ceiling Removal
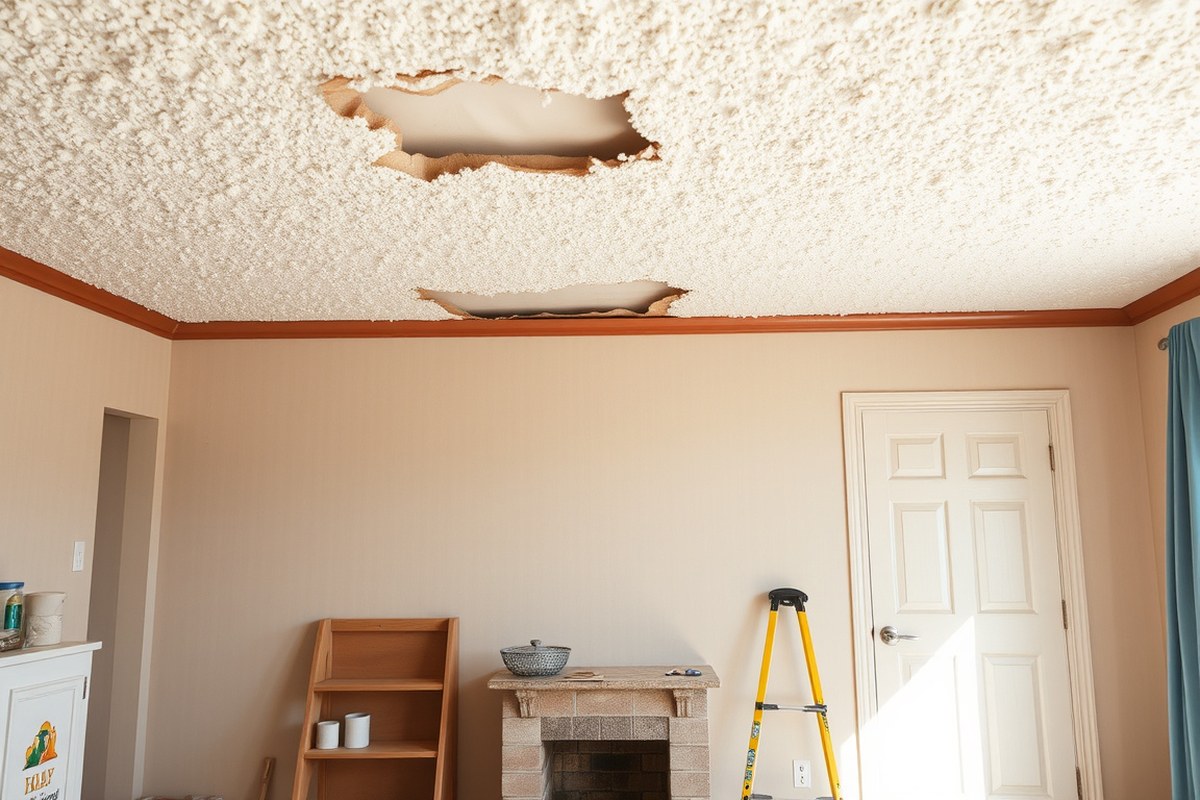
After removing a popcorn ceiling, expect uneven surfaces and some damage that need repair and smoothing before painting. Proper patching and sanding create a flawless base that lets primer and paint adhere well. Using the right primer blocks stains and evens out surface porosity, while a high-quality ceiling paint ensures a professional, smooth finish that brightens your room.
Patching and Sanding Imperfections
Popcorn ceilings hide imperfections, so removal often reveals cracks, gouges, and texture residue. Repairing these faults requires applying joint compound (drywall mud) over damaged areas, feathering the edges for a smooth blend. After drying for at least 30 minutes, sanding smooths these patches and levels the entire surface. Use 60-80 grit sandpaper for initial sanding and finish with 180-220 grit for a fine, smooth ceiling ready for priming.
Repeated patching and sanding cycles may be necessary to achieve a uniformly smooth surface. A pole sander helps reach high areas easily and enables more even sanding. Skipping this step can result in visible bumps and an uneven paint finish that undermines the effort of popcorn removal.
- Inspect the ceiling thoroughly and mark any cracks, dents, or holes that need filling.
- Apply a thin layer of joint compound over each damaged area with a drywall knife, spreading beyond the edges to feather it.
- Allow patches to dry completely, typically 30 minutes to one hour, depending on thickness and humidity.
- Sand the patched areas and the surrounding ceiling lightly with 60-80 grit sandpaper to smooth transitions.
- Apply a second thin coat of joint compound if needed over any imperfections and let dry.
- Finish sanding with 180-220 grit sandpaper to achieve a flat, smooth surface.
- Clean the ceiling of dust using a damp cloth or vacuum with a brush attachment.
Selecting the Right Primer
Priming helps seal the repaired drywall, blocks stains, and promotes paint adhesion. Use a high-quality, stain-blocking primer, especially if there were water stains or patched areas. Primers formulated for ceilings often have stain-covering properties and a flat finish to minimize light reflection from minor surface variations.
Acrylic or latex primers are common choices for their ease of use and fast drying times, generally 1 to 2 hours. Apply one even coat with a roller and allow it to dry fully before painting. Skipping primer or using low-quality primer can result in uneven color, peeling paint, or the return of stains over time.
Choosing Paint for a Smooth Ceiling Finish
Ceiling paint should be flat or matte to hide imperfections and reduce glare, improving the brightness that a smooth surface creates. Choose a premium interior ceiling paint that is specifically designed for ceilings; these formulas are thicker to reduce drips and minimize texture showing through.
Apply two coats for even coverage and a polished look. Use a roller with a smooth or medium nap (3/8 inch) for best results. Some homeowners add a bit of color tint to ceiling paint to create a subtle contrast or warm tone that perks up a plain ceiling quickly, though pure white remains the most common choice for brightness and openness.
Painting typically costs $15 to $30 per gallon for premium ceiling paint sufficient to cover 350 to 400 square feet. Professional results depend on thorough prep, primer quality, and careful application to avoid streaks or roller marks.
Cost, Time, and When to Hire Professionals for Popcorn Ceiling Removal
Hiring a professional to remove popcorn ceilings usually costs between $2.50 and $4.00 per square foot. For a 200-square-foot ceiling, expect to pay around $500 to $800, depending on factors like ceiling height and if the texture has been painted, which makes removal more time-consuming. If your home dates back before 1980, asbestos testing and possible removal are needed, adding roughly $3 to $7 per square foot to the total expense. Doing the removal yourself can save money but carries risks, including asbestos exposure and physically demanding work.
It usually takes 3 to 5 hours to remove unpainted popcorn finish in an average-sized room. Painted popcorn ceilings take 6 to 10 hours because the paint resists water, making scraping harder. Larger rooms or ceilings with vaulted designs will increase the time and may require additional equipment. Factoring in prep work and cleanup, expect to spend a full day on removal and repair when doing it yourself.
Professionals typically charge by square foot, sometimes adding hourly rates around $50 to $100 per hour for repairs or detailed work. Painting a ceiling after removal costs about $1 to $2 per square foot. A simple repair like patching small cracks could be just a few hundred dollars, but extensive ceiling repair can reach $50 to $100 per square foot.
Consider hiring a professional if your ceiling was installed before 1980 and has not been tested for asbestos, since improper removal could release hazardous materials into your home. You should also hire pros if you lack the tools or physical capacity to safely scrape and repair the ceiling or want to avoid the dust and mess. A typical removal job done yourself can save $300 to $500, but involves 8 to 12 hours of strenuous work and cleanup.
For example, removing popcorn ceiling in a 200-square-foot bedroom with unpainted texture could take about 4 hours for scraping, plus 2 hours prepping and cleaning. Hiring a pro at $3 per square foot means the job costs roughly $600, with less risk and no disruption to your household. Choosing DIY requires investing in proper safety gear and preparing for a long day’s work with careful cleanup to avoid damage to ceilings and air quality.
Alternatives to Removing Popcorn Ceilings: Covering and Other Options
You can cover a popcorn ceiling instead of removing it, and this approach often costs less and involves less mess. Options include installing new drywall over the popcorn, skim coating the existing surface, or applying decorative covers such as plywood panels or ceiling tiles. Each method has its own effort, cost, and finish quality, so your choice depends on your budget, skill level, and desired look.
Covering with new drywall is a common alternative. This involves attaching 1/2-inch drywall panels directly over the popcorn ceiling. It usually requires a professional drywall installer, as the panels must be screwed into ceiling joists or furring strips added to the ceiling. After installation, the seams are taped and mudded for a smooth finish, then primed and painted. This method hides the popcorn entirely and shapes a flat, modern ceiling. It costs less than full popcorn removal but still needs preparation and finish work to look good.
Skim coating involves spreading a thin layer of joint compound over the popcorn texture to smooth it out. This requires applying multiple coats, usually 2 to 3, with drying time of 12 to 24 hours between each. Sanding is necessary between coats for an even finish. Skim coating is labor-intensive and best for smaller areas or those with minor popcorn damage. It can be a DIY project if you’re comfortable with drywall mud, but it’s hard to achieve a perfectly smooth ceiling with this method alone.
Decorative covers can be an easier and stylish solution. One example is attaching good-quality plywood panels directly to the ceiling, then covering the seams with 1×4 boards to create a coffered ceiling look. Other options include lightweight ceiling tiles or planks mounted over the popcorn. These choices add personality to the ceiling but raise the ceiling height slightly and may require strong fastening to secure properly.
| Method | Cost Estimate | Effort | Finish Quality | Best Use |
|---|---|---|---|---|
| Drywall Overlay | Less than popcorn removal | Professional installation recommended | Smooth, modern flat ceiling | Large areas; when removal is impractical |
| Skim Coating | Low materials cost | Labor-intensive, multiple drying times | Can be smooth but requires skill | Small areas; DIY projects |
| Decorative Covers (Plywood, Tiles) | Variable, usually less than removal | Moderate; depends on materials used | Adds texture or style, not flat | Adding character; hiding rough surfaces |
Ensure ceiling joists or furring strips can support new drywall or panels to prevent sagging and damage.
Choosing to cover instead of remove can save time and money while minimizing dust and disposal issues. Suitable prepping and finishing of the new surface ensure a clean result. Consider how much ceiling height you can afford to lose, adding another layer lowers the ceiling by about 1/2 to 3/4 inch for drywall, more with thicker covers. Decorative covers work well if you want to add a vintage or coffered style without extensive ceiling work.
Step-by-Step Action Plan for Popcorn Ceiling Removal
Follow these clear steps to safely remove your popcorn ceiling or decide if hiring a pro is best. This plan covers preparation, removal, finishing, and evaluation.
- Before you start: Test for asbestos by sending a ceiling sample to a certified lab or hiring an inspector. Confirm the absence of asbestos before proceeding to avoid health risks.
- Day 1: Prepare your space and safety gear. Clear furniture, cover floors and vents with plastic, and wear goggles, a respirator rated for dust, and protective clothing. Complete prep ensures safer and cleaner work conditions.
- Day 2: Apply the wet scrape method. Lightly mist a 4-foot section of ceiling with water and wait 15 minutes, then gently scrape with a wide putty knife or ceiling scraper. A smooth, popcorn-free surface indicates success.
- Day 3: Sand and repair. Use a pole sander with fine-grit sanding screens to smooth remaining texture and edges. Repair small dents or damage with joint compound, then let dry thoroughly.
- Day 4: Prime the ceiling. Apply a stain-blocking, high-quality primer to seal the surface and prepare for paint. Even color coverage with no flecks means proper sealing.
- Day 5: Paint the ceiling. Use a high-quality ceiling paint, applying 1 or 2 coats as needed for full coverage and a smooth finish. Uniform color and texture show a completed look.
- After 1 week: Evaluate results and cleanup. Inspect the ceiling for imperfections and clean all tools and plastic. A repaired, painted ceiling without dust or debris shows the job is done.
- At any point: Decide if you need help. If the asbestos test is positive, the ceiling is damaged beyond repair, or the work feels overwhelming, stop and hire a licensed professional to manage removal safely.
Frequently Asked Questions
What Is the Cheapest Way to Get Rid of Popcorn Ceiling?
The cheapest way to get rid of popcorn ceiling is to do it yourself using the wet scrape method. Buying a sprayer and scraper typically costs less than hiring professionals, but it requires effort and proper preparation to avoid damage and mess.
Is It Worth Removing a Popcorn Ceiling?
Removing a popcorn ceiling is worth it if you want a more modern look and better lighting, as smooth ceilings reflect light better and brighten rooms. Keep in mind it involves significant work and some repair afterward.
Can I Get Rid of Popcorn Ceiling Myself?
Yes, you can remove a popcorn ceiling yourself if you prepare well and follow safety steps. Check for asbestos first in homes over 30 years old and wear protective gear during removal.
How to Convert Popcorn Ceiling to Smooth?
To convert popcorn ceiling to smooth, you need to wet and scrape off the texture, then patch, sand, prime, and paint the ceiling for a uniform surface. This process takes time but results in a clean, modern finish.
How Long Does It Usually Take to Remove a Popcorn Ceiling?
Removing popcorn in a typical 12 x 13-foot room takes about 2 ½ hours for scraping and sanding, plus an additional 45 minutes for priming and painting. Time varies with room size and ceiling condition.
What Are Safe Alternatives to Removing Popcorn Ceilings?
Covering popcorn ceilings with beadboard or new drywall is a safe alternative. It hides the texture and costs less than removal, requiring less mess and risk, especially if asbestos might be involved.
Before You Go
Removing a popcorn ceiling can refresh your space and raise your home’s value, but safety and preparation are key. Start by testing for asbestos to ensure the right removal approach. Today, gather your safety gear and schedule an asbestos test if your ceiling was installed before the 1980s to take the first step toward a smooth, modern ceiling.