How to Pest Proof Your Storage Unit: 10 Practical and Effective Steps
To pest proof your storage unit, start by thoroughly cleaning and sealing any cracks or gaps where pests can enter. Use pest-resistant containers and control humidity to discourage infestations. Regular inspections and safe, DIY pest control methods also help maintain a pest-free space. These steps can prevent damage to your belongings and reduce costly pest problems.
This advice is for anyone who rents or owns a storage unit and wants to protect their stored items from common pests. You’ll learn how to identify signs of pests, prepare your space correctly, choose the right materials, monitor for issues, and know when to involve professionals if needed.
Key Takeaways
- Know typical storage unit pests like rodents, silverfish, and spiders and watch for droppings, chewed materials, or webbing signs.
- Thoroughly clean and disinfect your unit before moving in to remove attractants and reduce existing pest populations.
- Use airtight, pest-resistant plastic bins instead of cardboard to store belongings and avoid pest-friendly materials.
- Seal cracks, gaps, and door edges around your storage unit with weatherstripping and caulk to block pest entry points.
- Apply safe DIY pest deterrents such as traps, natural repellents, or diatomaceous earth around your unit perimeter.
- Keep humidity below 50% and ensure proper ventilation to discourage moisture-loving pests like silverfish and mold growth.
Identify Common Storage Unit Pests and Their Signs
Storage units often attract pests like rodents, cockroaches, spiders, silverfish, and ants because these creatures seek shelter, food, and warmth. Rodents such as mice and rats chew on boxes and wires, which can cause damage and safety hazards. Cockroaches are drawn to damp, dark areas and leave behind droppings and a musty odor. Spiders set up webs in corners, while silverfish thrive in humid conditions and feed on paper, fabric, and glue. Ants typically appear near food sources but may also invade storage units looking for moisture.
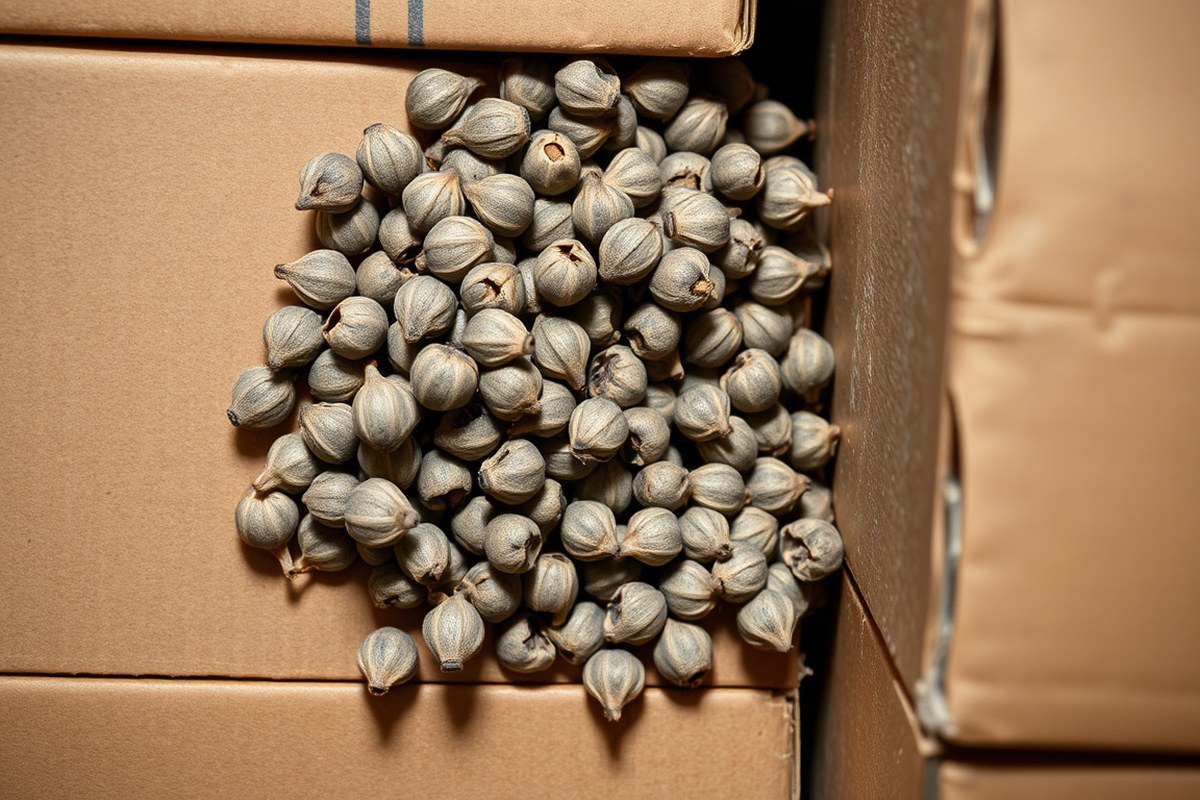
Recognizing early signs of these pests helps you take action before an infestation grows. Look for tiny droppings near storage containers or on the floor; rodent droppings are small, dark, and pellet-shaped, while cockroach droppings look like ground pepper. You might notice gnaw marks on cardboard boxes, wooden crates, or plastic bins, which indicate rodents. Webs or egg sacs hanging in corners can signal the presence of spiders. Silverfish activity can be spotted by seeing small, fast-moving, silver-gray insects or finding holes and yellow stains on stored paper or fabric items. Ant trails may appear as thin lines leading to a food source or water.
Pay attention to unusual smells. A strong musty or oily odor often means cockroaches are present. The scent of ammonia or urine suggests rodents may be active. These odors might not be obvious at first but can become stronger as the problem worsens. Smell your storage unit regularly, especially in the back corners or near the floor where pests often hide.
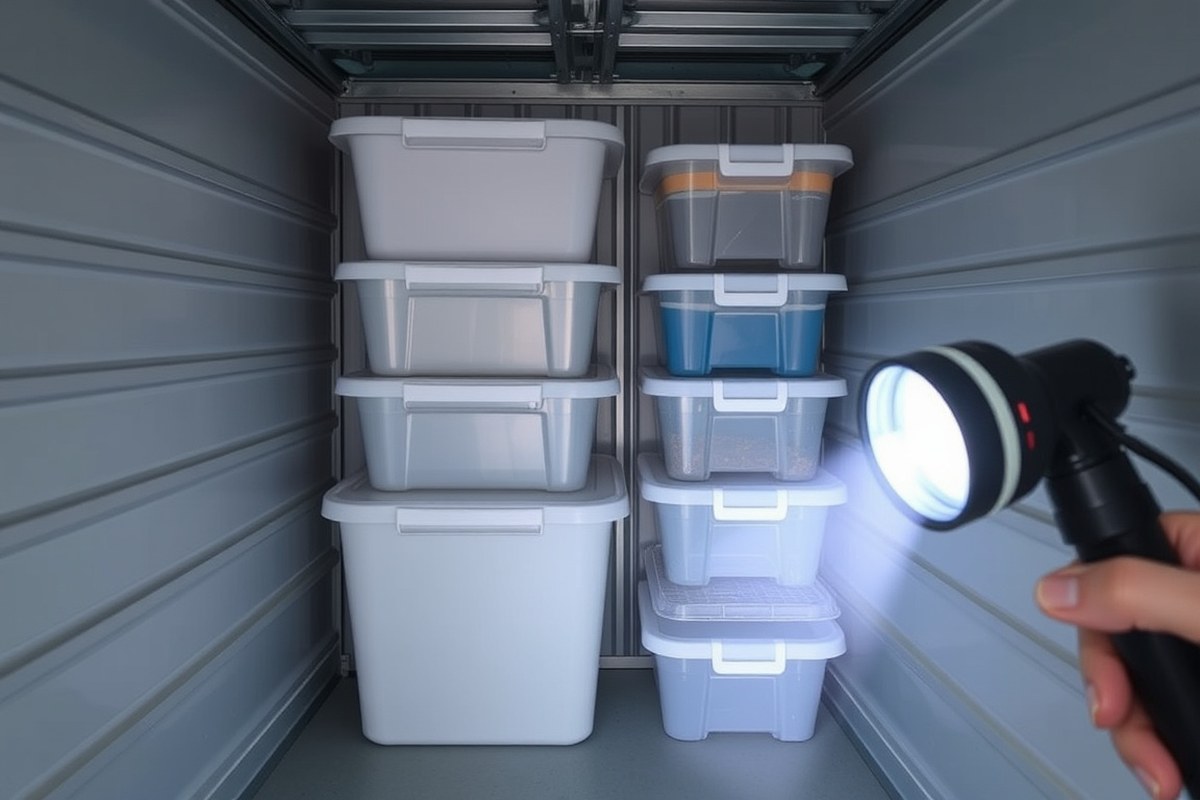
Check your unit visually on a weekly or biweekly schedule. Use a flashlight to inspect dark corners, behind stored items, and under furniture or pallets. Scan for tiny footprints in dust or dirt, shed skins, or nests made of shredded paper or fabric. In cold climates, rodents might seek warmth inside storage units during fall and winter, so inspect more frequently during those months.
Early detection is key because catching pests at first signs prevents damage and costly removals later. Regular inspections typically take 10 to 15 minutes. Use gloves and a mask if you find droppings or nests, as some pests carry diseases. If you smell or see signs but aren’t sure, take photos and compare to reliable online sources or pest identification guides tailored for storage units. This helps prevent misidentification and improper treatment.
Prepare and Clean Your Storage Unit Before Moving In
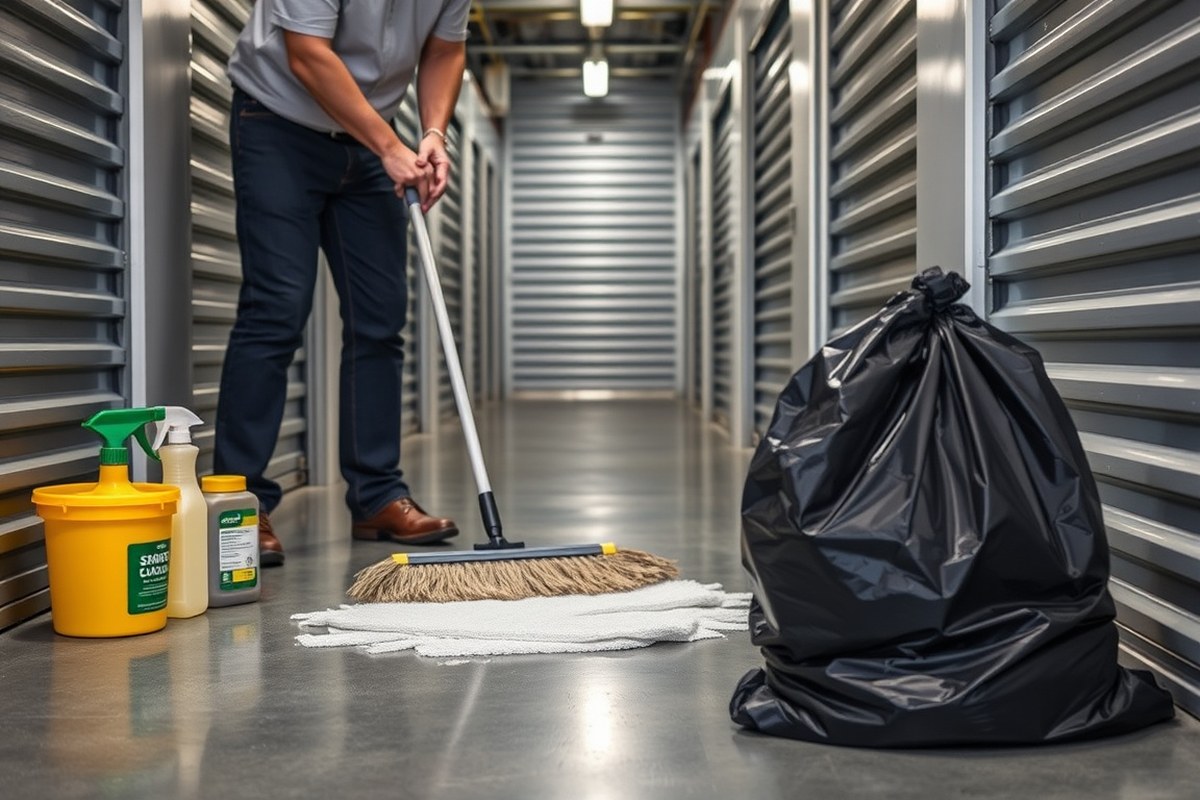
Thoroughly cleaning and preparing your storage unit before moving in helps remove food sources, nesting spots, and any existing pests that might harm your belongings. Cleanliness plays a key role in pest prevention because pests are attracted to dirt, debris, and moisture. Following a clear step-by-step process ensures you create a pest-free environment for your stored items.
Remove Debris and Clutter
Any leftover debris or clutter in the storage unit can attract pests by providing shelter and food. Clearing out all trash, leaves, and old packing materials is essential to lower the chance of pest infestations. This also improves your ability to inspect and clean the unit more effectively.
- Remove all trash, old boxes, and any loose materials from the unit.
- Sweep the floor thoroughly to clear dust, dirt, and small debris.
- Vacuum corners, edges, and crevices where dirt can accumulate.
- Dispose of any organic material like leaves or twigs left from previous use.
- Check the unit entrance and surrounding area for clutter and clear it.
Keep the area around the unit clean and free of clutter to prevent pests from hiding close by and entering later.
Disinfect Surfaces and Floors
Cleaning alone might not remove pest eggs or bacteria, so disinfecting surfaces helps eliminate any lingering pest presence. Using a disinfectant designed for floors and hard surfaces lowers the chance that pests can establish themselves once your belongings arrive.
- Choose a disinfectant that is safe for concrete and metal surfaces, following product instructions carefully.
- Mop the entire floor with disinfectant, paying extra attention to corners and wall edges.
- Wipe down walls and any shelving with disinfectant using a cloth or spray bottle.
- Let surfaces dry completely before moving items in to avoid trapping moisture.
Avoid using bleach on concrete because it can degrade the surface; select commercial disinfectants suitable for storage spaces.
Inspect for Signs of Pest Activity
Before you store anything, examine the unit carefully for evidence of mice, insects, or other pests. Early detection can save you from bigger problems and tell you where to focus your cleaning and repairs.
- Look for droppings or urine stains along walls and behind corners.
- Check for gnaw marks on wood, plastic, or wiring if present inside the unit.
- Inspect for nesting materials such as shredded paper or fabric.
- Identify any live or dead insects, webs, or egg sacs attached to walls or ceilings.
- Note areas where a musty or musky odor indicates rodent presence.
Document any pest signs with photos and report serious infestation to storage management before moving in.
Seal Cracks and Entry Points
Small cracks and gaps in walls, doors, and around utility openings let pests enter easily. Sealing these entry points prevents pests from getting inside and reduces ongoing infestations.
- Inspect all walls, ceilings, and doors for cracks and holes larger than 1/8 inch.
- Use silicone or acrylic caulk to seal small cracks and gaps.
- Install weather stripping or door sweeps to seal the bottom of doors.
- Fill larger holes or gaps around pipes or vents with expanding foam or steel wool before caulking.
- Check for signs of damage to door seals and replace if necessary.
Leaving even tiny gaps open provides easy access to pests such as mice and cockroaches.
Ventilate to Reduce Moisture
Excess moisture encourages pests like silverfish, spiders, and mold, which damages stored items. Ensuring good ventilation and air circulation helps keep humidity levels low to discourage pest activity.
- Check that ventilation openings or vents in your unit are clear of debris and functioning properly.
- If allowed, place a small dehumidifier or moisture absorber in the unit to control humidity.
- Avoid storing damp or wet items inside to reduce moisture buildup.
- Consider using a fan briefly to circulate air if the unit feels musty before storing anything.
Maintain humidity below 50% to prevent pests and protect sensitive belongings from mold and mildew.
Choose Pest-Resistant Storage Containers and Materials
Choosing the right storage containers matters a lot when pest-proofing your storage unit. Containers made of porous or organic materials like cardboard or wood attract pests such as rodents, termites, and insects because these materials are easy to chew or nest in. Plastic and metal containers usually offer better protection since they are harder for pests to breach. Selecting containers with tight-fitting lids reduces the chances of pest entry by eliminating access points.
Clear plastic bins are popular because they let you see inside without opening, but not all plastics are equally pest-resistant. Hard polyethylene plastics with locking lids tend to be the best option. Metal containers provide excellent barriers to rodents, though they can be heavy and prone to rust if used in humid environments without proper coatings.
Below is a comparison table showing common container types, how well they resist pests, and their pros and cons. This helps you pick the best container depending on what you’re storing, your budget, and the risk level in your area.
| Container Type | Pest Resistance | Advantages | Disadvantages |
|---|---|---|---|
| Cardboard Boxes | Low | Inexpensive, lightweight, easy to stack | Attracts pests, absorbs moisture, tears easily |
| Plastic Bins with Tight Lids | High | Waterproof, durable, often clear for visibility, seals well | Can be costly, plastic can crack in extreme cold |
| Metal Containers | Very High | Rodent-proof, durable, long-lasting | Heavy, may rust without coating, pricier |
| Wooden Crates | Low | Strong structure, reusable | Attracts termites and rodents, can warp if damp |
| Fabric Containers | Very Low | Lightweight, breathable | No pest protection, absorbs moisture and odors |
To pest-proof your storage unit, focus on plastic bins or metal containers that seal tightly. Avoid cardboard and wood when storing items prone to pest damage or when pests are common in your area. For example, use clear plastic containers with gasket lids when storing clothes, books, or electronics to keep them dry and out of reach. In humid climates, choose plastic over metal to prevent rust, but check bins regularly for cracks where insects could enter.
Make sure lids snap or lock firmly to prevent rodents from opening boxes. Stack containers off the floor on pallets or shelving to reduce ground moisture and limit pest contact. Label containers clearly so you can check contents without opening and exposing items to pests. In cases where an item won’t fit in a container, wrap it tightly with pest-resistant materials like heavy plastic sheeting or sealed tarps.
Seal Cracks, Gaps, and Entry Points Effectively
Sealing cracks, gaps, and entry points is one of the most effective ways to keep pests out of your storage unit. Pests like rodents, insects, and spiders often use small openings to access stored items and create nests. Blocking these routes removes easy access and helps protect your belongings from damage and contamination. Proper sealing not only reduces pest problems but also improves the unit’s overall cleanliness and security.
Effective sealing requires identifying all potential entry points. Common spots include gaps around windows and doors, seams in walls or floors, vents, and utility lines. Choosing the right materials and tools is essential to ensure a durable, pest-resistant barrier. For most cases, flexible silicone or polyurethane caulk works well for small gaps up to 1/4 inch. Larger openings often need expanding foam or hardware cloth for reinforcement. Metal flashing or weatherstripping can help seal doors with persistent gaps. Avoid materials that pests can chew through, such as thin foam alone or untreated wood. Follow these steps to seal your storage unit efficiently:
- Inspect all surfaces inside and outside the unit, focusing on corners, edges, utility penetrations, vents, and doors. Shine a flashlight into dark areas to spot hairline cracks and spider webs.
- Clean all areas
- Remove old or damaged materials
- Apply caulk
- Fill larger gaps
- Seal door edges
- Install or repair vent covers
- Inspect all sealed areas periodically
The key tools and materials you’ll need include a flashlight, wire brush, vacuum or cleaning cloths, caulking gun, silicone or polyurethane caulk, expanding foam, hardware cloth or mesh, screws and a screwdriver, weatherstripping, and door sweeps. Sealing takes time and some patience, often a few hours depending on unit size and damage, but it costs between $20 and $60 in materials for an average unit. Well-sealed units show no visible gaps or light leaks and are noticeably less prone to pest activity.
Use DIY Pest Proofing Methods and Safe Products
You can pest proof a storage unit yourself by using a combination of physical barriers and natural repellents that are safe for both your belongings and the environment. This approach helps prevent pests like rodents, insects, and spiders without relying on harsh chemicals or professional treatments. Using eco-friendly products reduces health risks, especially in enclosed spaces where ventilation might be limited.
Start by applying physical barriers such as weather stripping, door sweeps, and sealant around any small cracks or gaps. These prevent pests from entering the unit. For repellents, natural options include peppermint oil, diatomaceous earth, and cedar chips. Peppermint oil works as a deterrent for rodents and insects because they dislike its strong scent. Diatomaceous earth is a fine powder that scratches and dehydrates crawling insects but is safe around humans and pets when used properly. Cedar chips naturally repel moths and other bugs, making them ideal to place inside storage containers or corners.
When using these repellents, apply peppermint oil diluted with water in a spray bottle, spraying along edges and entry points every two weeks or as needed after cleaning. Sprinkle diatomaceous earth lightly around container bases or along floor edges, avoid inhaling the dust during application. Replace cedar chips every few months or when their scent fades to maintain effectiveness.
- Spray diluted peppermint oil along all potential entry points and corners.
- Lightly dust diatomaceous earth around the perimeter of the unit and under containers.
- Place cedar chips inside storage bins or boxes to deter moths and insects.
- Use door sweeps on the bottom of unit doors to block rodent access.
- Fill any small holes or gaps with sealant or expanding foam for a long-lasting barrier.
- Avoid over-saturating surfaces with sprays to prevent damage to stored items.
- Reapply natural repellents regularly, especially after fumigating or unit cleaning.
These DIY methods cost little more than basic household supplies and natural products, often under $20 for a small storage space. Results include fewer signs of pests, like droppings or chewed packaging, and less pest activity overall. Problems can arise if barriers are missed or repellents are poorly applied. Also, diatomaceous earth loses effectiveness if it gets wet, so keep it dry for best results.
Always wear a dust mask when applying diatomaceous earth to avoid respiratory irritation, and test natural sprays on a small area of stored items to check for damages.
Control Humidity and Ensure Proper Ventilation
Humidity and ventilation have a direct impact on pest activity and the condition of your storage unit. Moist environments attract pests like silverfish, mold mites, and cockroaches, which thrive in damp areas. Excess moisture can also cause mold growth, wood rot, and damage to fabrics and cardboard boxes. Proper airflow reduces moisture buildup and creates less hospitable conditions for pests. Controlling these factors helps protect your belongings and reduces the chance of an infestation.
In humid climates, especially in the southern U.S. Or during summer months, keeping your storage unit dry is a priority. Use a portable dehumidifier designed for spaces about the size of your storage unit. These typically cost between $100 and $200 and help lower moisture levels below 50 percent relative humidity, which is less attractive to pests. Place the dehumidifier near your stored items but away from walls to allow air circulation. For natural ventilation, leave small vents unobstructed and consider positioning your unit near an exterior wall with vents to facilitate air exchange.
In cooler, dryer climates or during winter months, humidity may be less of a concern, but ventilation remains important. Airflow prevents condensation, which can happen when temperatures fluctuate between day and night. Open vents or use small battery-operated fans to circulate air inside the unit. Avoid tightly sealing your unit to the point where no air can pass through, as this traps moisture and promotes mold and pest activity.
Storage units in mixed climates that experience both hot, humid summers and cool winters require adjustments. During humid months, use a dehumidifier and keep vents open. In colder months, close vents to prevent cold drafts but monitor for condensation inside the unit. Consider using moisture-absorbing products like silica gel packs or calcium chloride containers to help reduce indoor humidity levels. These cost around $10 to $30 and require replacement every few months depending on how damp the environment is.
Regularly check your storage unit for signs of moisture, such as damp spots, musty odors, or condensation on walls and floors. If you notice these, increase ventilation or run the dehumidifier more often. Monitor humidity using an inexpensive hygrometer placed inside the unit. Aim to keep relative humidity below 50 percent. Consistently maintaining these conditions discourages pests by removing the moisture they need to survive and reproduce.
Proper ventilation means ensuring at least two vents placed opposite each other or at different heights in the unit to encourage cross airflow. Avoid stacking items directly against the walls so air can move freely. In indoor storage facilities, ask management if additional ventilation options or climate-controlled units are available, which usually maintain stable temperature and humidity levels year-round, though at higher rental costs.
Perform Regular Inspections and Monitoring for Pests
Inspect your storage unit at least once every three months to catch pest issues early. More frequent checks may be necessary during warm months when pests are more active or if your unit stores organic materials that attract insects or rodents. Regular inspections help you see if your pest-proofing methods are holding up and let you spot signs like droppings, nesting, or chewed items before an infestation takes hold.
Develop a thorough inspection routine focusing on areas where pests typically hide or enter. Use a flashlight to examine corners, under shelves, behind stored boxes, and near any cracks or gaps. Pay close attention to the floor and ceiling intersections, as well as around vents and doors. Look for small holes, sticky residues, webs, gnaw marks, or foul odors, all of which can indicate pest presence. Try this seasonal inspection checklist during your visits:
- Check all cardboard boxes for signs of moisture damage or chewing.
- Look behind and under items for droppings or insect shells.
- Inspect seals around doors and windows for cracks and gaps.
- Examine stored fabrics and paper products for discoloration or damage.
- Note any new holes or tunnels in wood or plastic containers.
- Verify that your pest deterrents like traps or barriers are intact.
- Monitor humidity levels and ventilation to ensure they remain balanced.
Keep a log with dates and notes from each inspection. Mark areas where you find pest activity or potential risks. Over time, you’ll see if pest signs are disappearing or increasing. Declining signs suggest your pest-proofing works, while growing signs mean you should reevaluate your approach or increase inspection frequency.
Costs for inspections are low if you perform them yourself, though dedicating 30 to 60 minutes each quarter is important. Using simple tools like a checklist, flashlight, and a notebook is enough. For units with known pest problems, inspecting every month or after events like heavy rain or storms makes sense. You may also want to supplement inspections with monitoring tools like sticky traps to catch insects early. These traps can be purchased for under $10 and placed strategically in your unit.
Failing to inspect regularly can let pests establish without detection, leading to damage and contamination of your stored goods. Neglecting monitoring could also result in greater costs and effort to fix infestations later. Staying consistent with inspections guards your belongings and helps you act quickly when needed.
Adjust Pest Proofing Strategies Based on Climate and Unit Type
Pest proofing approaches differ significantly between indoor and outdoor storage units and vary according to the climate where the unit is located. Selecting the right strategy depends on the typical pests in the area and how environmental factors like humidity and temperature affect them. Tailoring your pest proofing plan based on these variables can improve protection and reduce infestation risks.
Pest Risks in Humid Versus Dry Climates
Humid climates encourage pests such as termites, mold, cockroaches, and rodents because dampness supports their survival and breeding. In humid areas, you need to focus heavily on controlling moisture inside the unit. Using airtight, waterproof storage containers and adding desiccants like silica gel packs can reduce humidity levels around your belongings. Regularly running a dehumidifier or placing moisture absorbers inside the unit helps keep the air dry. Applying pest-repellent powders around the base of the unit and sealing entry points prevents outdoor pests drawn to dampness from entering.
Dry climates face fewer issues with moisture-loving pests but often have problems with ants, spiders, and some scavenging rodents that seek food and shelter. Pest proofing here means sealing all cracks to block ants that travel along walls and floors, and using non-food-based repellents to avoid attracting scavengers. Cleaner, more airtight storage containers reduce food residue scent that invites pests. Monitoring the unit regularly can catch early signs since infestations often start small in these climates.
Challenges of Cold Versus Warm Regions
Cold climates slow many pests’ activity but can still harbor rodents and bugs seeking warmth indoors. Insulating the unit and sealing gaps is essential to prevent cold-weather pest invasions. Heated or climate-controlled units in cold regions require ensuring vents and doors are pest-proof, as pests will exploit any warmth leaks. Use rodent-proof containers and keep the storage area tidy to avoid attracting animals that come indoors to escape cold. Warm storage units with fluctuating temperatures demand strong ventilation and pest monitoring, as pests can become active sporadically.
Warm regions experience consistent pest activity year-round, including termites, ants, and cockroaches. Pest proofing should include regular application of pesticides or pest-repelling barriers around the building. The use of treated wood or metal shelving reduces termite risk. Because warm climates can also be humid, moisture control like sealing leaks and running dehumidifiers becomes a critical component of pest prevention.
Indoor Unit Versus Outdoor Unit Pest Strategies
Indoor storage units often have better climate control and fewer access points, reducing pest risks if you maintain regular cleaning and sealing. Because these units are inside a building, controlling internal humidity and ensuring good ventilation generally suffices to deter most pests. You can safely use sealed plastic containers and place traps discreetly due to the controlled environment. Inspect internal walls and corners often for pest signs.
Outdoor storage units face greater challenges from weather exposure, wildlife, and soil-dwelling pests. They require more extensive sealing of gaps and application of exterior-grade pest barriers. Using pest-resistant containers is even more important outdoors, preferably ones sealed against moisture and rodents. Regularly removing debris and vegetation near the unit helps avoid attracting rodents and insects. You may also need to check and treat the drainage to prevent water pooling, which invites moisture-loving pests. Outdoor units benefit from scheduled pest control treatments around the perimeter to block infestations.
Always check local weather patterns and pest activity trends before selecting pest proofing methods, as mismatched approaches can leave your storage vulnerable.
Avoid Common Pest Proofing Mistakes and How to Fix Them
Many people overlook simple but critical steps when pest proofing storage units, leading to continued infestations that damage belongings. One frequent mistake is storing items directly on the floor or against unit walls. This gives pests easy access and hiding places. The fix is to improve everything at least a few inches on pallets or shelving. This cuts off crawl spaces and simplifies cleaning underneath.
Another common error is using cardboard boxes without extra protection. Cardboard attracts insects like silverfish and rodents that can chew through and contaminate stored goods. Replace cardboard with plastic bins that have tight-fitting lids. Plastic containers cost more upfront but protect better against pests and moisture over time.
- Failing to clean and inspect items before storage, which can introduce pests.
- Ignoring small cracks or holes in the unit walls or door frame.
- Storing perishable or improperly sealed food, attracting ants and rodents.
- Not controlling humidity, causing mold and inviting moisture-loving pests.
- Leaving infestations unaddressed within stored belongings before moving in.
Each of these mistakes can be corrected with specific steps. To clean and inspect items, wipe them down and check for signs of insects like shed skins or larvae. Seal cracks with silicone caulk or weather stripping, which costs less than $20 and takes under an hour for most DIY jobs. Replace food storage with airtight containers and dispose of any expired or perishable items safely, outside the unit. Use a dehumidifier if humidity exceeds 60 percent, aiming for a range of 30 to 50 percent.
When belongings are already infested, do not simply move them into storage. Infested items must be treated or disposed of before storing. If the infestation is minor and the item is valuable, freeze it for at least 72 hours to kill pests, then clean thoroughly and encase in plastic. For severe infestations or disposable goods, seal items in heavy-duty plastic bags and discard in outdoor trash bins away from the storage property. Never mix infested items with clean storage without treatment, as this spreads pests.
Taking these corrective actions reduces pest risk significantly and preserves the condition of stored belongings. Avoid shortcuts, as the cost and effort of treating infestations later often exceed preventive measures.
When to Call Professionals and Handle Persistent Infestations
Professional pest control becomes necessary when pest problems persist despite your efforts or when infestations pose health risks or threaten damage to your belongings. You should also call in experts if you are uncertain about safe pesticide use inside storage units. Handling such situations promptly helps protect your stored items and prevents worsening pest issues.
Signs You Need Professional Pest Control
Persistent sightings of pests even after thorough cleaning and sealing indicate the need for professional help. Multiple pest species or rapid reproduction, like large numbers of rodents or insects appearing in weeks, is another clear sign. Damage to your items, such as chewed boxes or stained fabrics, also suggests an active and serious infestation that requires expert treatment. Noticing foul odors or droppings that could carry disease warrants hiring professionals immediately.
Also consider professional control when pests return regularly during certain seasons or infestations spread beyond your unit. Some pests resist over-the-counter treatments, and DIY methods fail if hidden nests or entry points remain unknown. Professionals have tools to identify and treat infestations more effectively.
How to Discuss Pest Problems with Facility Management
Begin by documenting your pest sightings and steps you’ve taken to control them. When contacting storage facility management, provide specific details, like dates and the pests observed. Request information about the building’s ongoing pest control policies and any recent reports from other renters. Be clear about how pests threaten your stored property and politely ask for coordinated control measures.
Use a straightforward script such as: “Hello, I am experiencing ongoing issues with [specific pests] in my unit #___ despite my preventive efforts. I wanted to know if your team provides regular pest control or if there is an infestation affecting other units. Could you assist or recommend professional services to help resolve this promptly?” Keeping communication records helps if disputes arise or if pest issues require escalating.
Safe Use and Alternatives to Chemical Pesticides
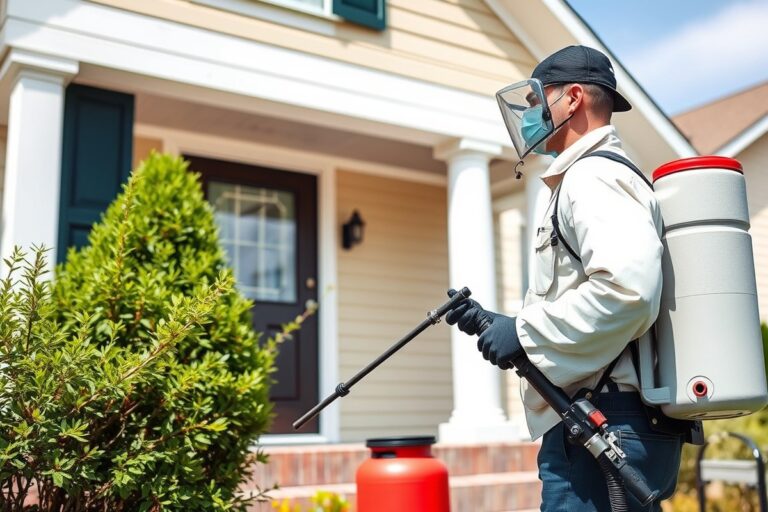
Using chemical pesticides in storage units carries risks because fumes can damage stored goods or affect other renters. Always read and follow pesticide labels for indoor use, ventilation requirements, and safety precautions. Avoid spraying directly on your possessions. When possible, choose EPA-registered pesticides formulated for enclosed spaces and consider non-chemical options such as traps, barriers, or natural repellents.
Alternatives include diatomaceous earth, insecticidal baits inside sealed containers, and sticky traps that do not release chemicals. These reduce health risks and avoid contamination of your belongings. When unsure, consult pest control professionals to select the safest approach based on your unit’s conditions. Err on the side of caution, especially with sensitive items and in poorly ventilated units.
Step-by-Step Action Plan to Pest Proof Your Storage Unit
Follow this plan to protect your storage unit from pests efficiently. Each step includes a clear action and a way to check your progress.
- Before Moving In: Clean the storage unit thoroughly and inspect for signs of pests like droppings or gnaw marks. Ensure the space is clear and dry. You’ll know it worked if no pest signs remain before you start storing your items.
- Day 1: Use airtight, pest-resistant containers for all your belongings. Check containers for secure lids and no holes. Success means no pests can access your items inside these containers.
- Day 2: Seal all cracks, gaps, and entry points around doors, vents, and walls using caulk or weatherstripping. Verify no visible gaps remain. You should see a properly sealed unit perimeter without openings.
- Week 1: Apply DIY pest control methods such as natural repellents or safe traps inside the unit. Monitor traps regularly. When traps catch pests or repellents deter them, you’re on track.
- Week 2: Adjust climate control by reducing humidity and improving ventilation to create an unfriendly environment for pests. Use a hygrometer to confirm humidity stays below 50%. Achieving this level helps prevent mold and insect attraction.
- First Month: Conduct a complete inspection for new pest activity and container integrity. When no new signs appear and containers stay intact, your pest proofing is effective.
- Ongoing Every 3 Months: Reapply sealants and pest control treatments as needed. Check the environment and continue using monitoring traps. A pest-free report during these checks means your strategy remains successful.
- As Needed: Contact a professional pest control service if infestations persist despite your efforts. Professional treatment should reduce or eliminate pests when DIY methods fail.
Frequently Asked Questions
Can Storing Certain Items Reduce Pest Attraction in a Storage Unit?
Yes, keeping food and plants out of your unit helps minimize pests. Items that release odors or moisture attract insects and rodents more than dry, sealed goods.
How Often Should You Replace Pest Repellent Products in Storage Units?
Replace repellents every 6 to 12 months or as label directions specify. Repellents lose potency over time, so timely replacement maintains effectiveness against pests.
Is There a Difference Between Indoor and Outdoor Storage Units for Pest Proofing?
Yes, outdoor units are more prone to pests due to proximity to soil and vegetation. They require more thorough sealing and moisture control techniques than indoor units.
Do Pest Control Warranties Apply to Rented Storage Units?
Pest control warranties rarely include storage units unless specified in the rental agreement. Check your lease or storage facility policies for coverage details before relying on warranties.
Can Pest Proofing a Storage Unit Impact Insurance Claims?
Proper pest proofing can support insurance claims related to pest damage by showing preventive measures. Keep records of pest proofing to help validate claims if needed.
What Signs Indicate a Pest Problem Even with Pest Proofing Efforts?
Droppings, chewed materials, and strange smells suggest pests despite proofing. Early detection helps you address the issue before extensive damage occurs.
Before You Go
Keeping your storage unit free from pests takes ongoing attention and the right preparation. Start by thoroughly inspecting your unit today for any cracks or gaps you can seal immediately to block entry. Taking this simple step helps protect your belongings from damage and gives you a better chance of avoiding costly infestations down the line.