
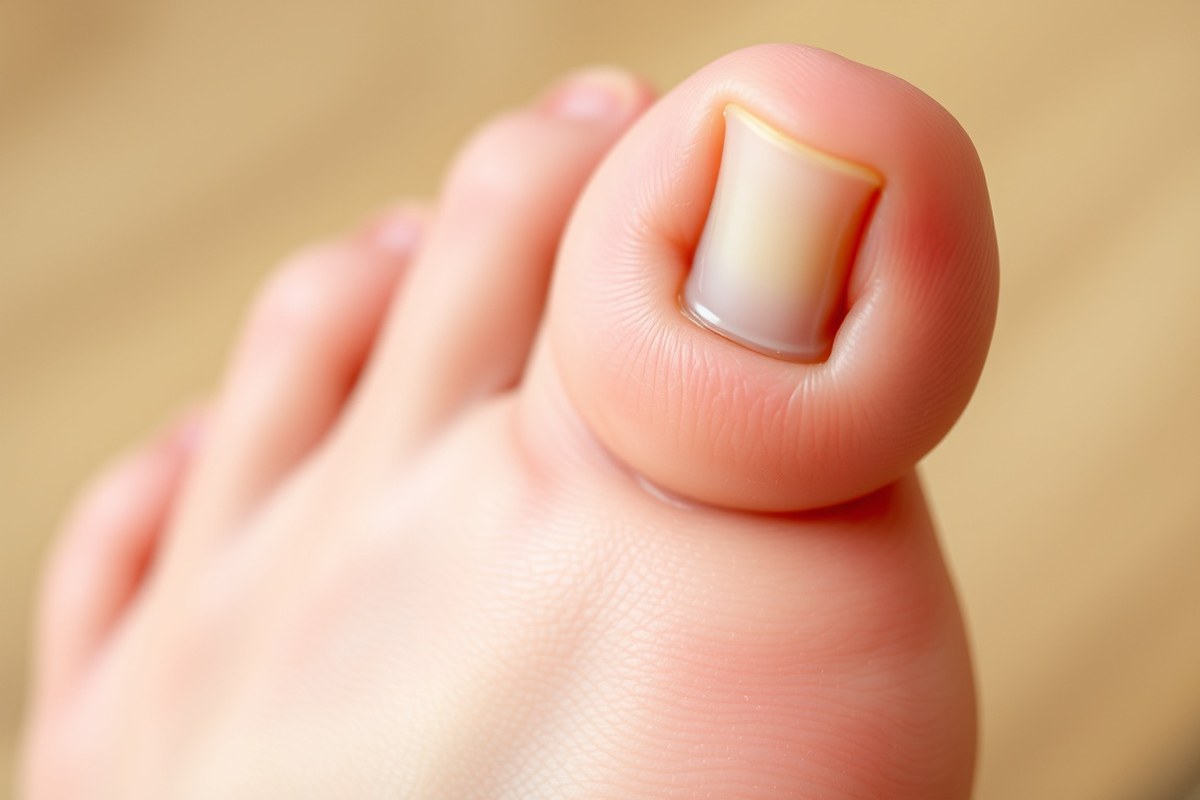
How to Get Rid of Corn on Foot: 8 Safe Steps for Fast Relief
To get rid of corn on foot quickly and safely, start by identifying the type of corn you have, soften it with proper soaking, and gently remove the hardened skin using a pumice stone or file. Over-the-counter treatments like moleskin sheets or corn pads can protect the area as it heals. Knowing when to see a podiatrist and how to prevent corns through better footwear is also key for lasting relief.
This advice helps anyone dealing with foot corns, including those with diabetes or sensitive skin. You’ll learn about the common types of corns, what causes them, how to treat them at home, and how to avoid painful recurrences with daily care and the right shoes.
Key Takeaways
- Identify foot corns by their hard, thickened skin over pressure points and treat them by protecting the area and reducing friction.
- Hard corns usually form on toes or the outer foot, while soft corns appear between toes where moisture accumulates.
- Wearing tight, ill-fitting shoes causes corns by increasing pressure and friction on specific foot areas.
- Soak your feet in warm, soapy water for 10 to 20 minutes to soften corns before attempting any removal.
- Use pumice stones or files gently after soaking to remove hardened skin, avoiding aggressive scraping to prevent injury.
- Apply 17% salicylic acid treatments as directed to dissolve corns, but avoid high concentrations and consult a doctor if diabetic.
1. How to Identify and Treat Corns on Your Foot Safely
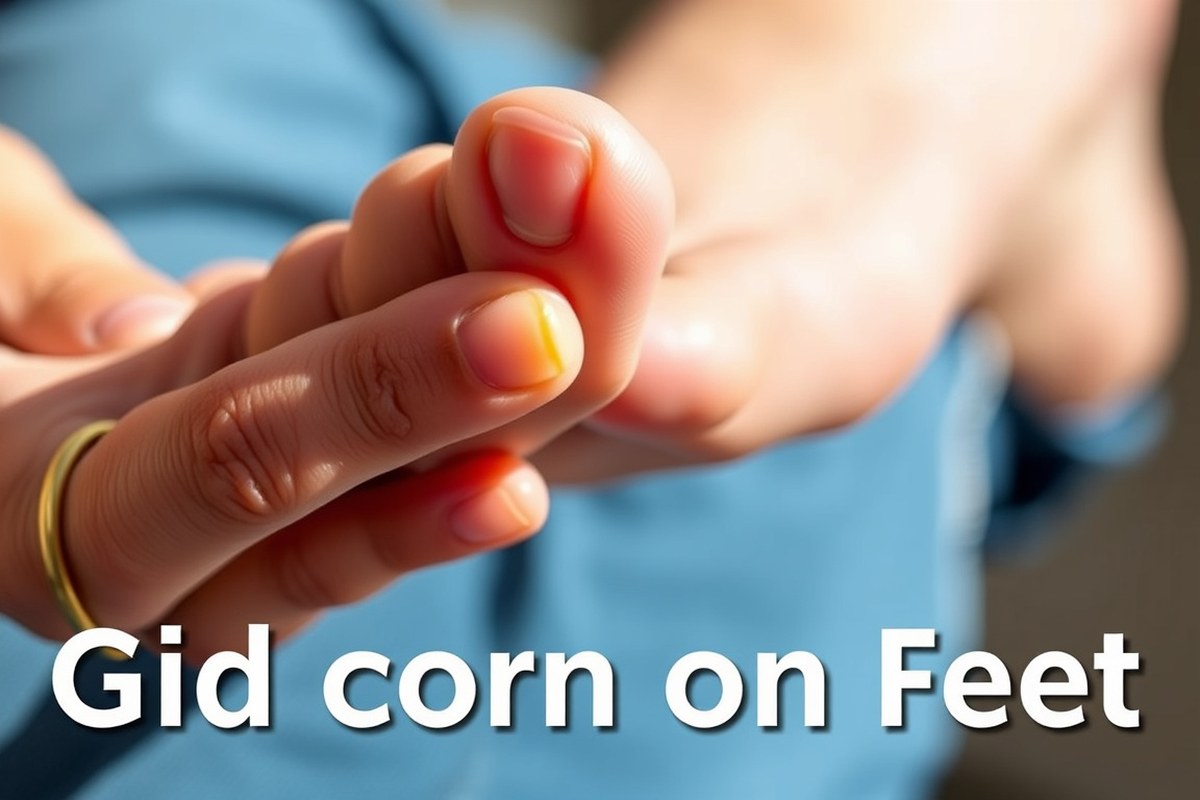
A corn on your foot is a small, thickened patch of skin that forms due to repeated pressure or friction. It differs from a callus in size and shape; corns are usually smaller and have a distinct hard center surrounded by inflamed skin, while calluses cover larger, more diffuse areas without a central core. This hard center is what makes corns tender or painful, especially when pressed.
Identifying a corn involves feeling for a raised bump that is hard in the middle and sometimes surrounded by redness. Unlike warts, which may have tiny black dots and disrupt normal skin lines, corns maintain the skin’s natural pattern except for the raised, hardened area. Calluses feel more like thick, flat patches without the pinpoint pain corns cause when pressed. Seed corns, a very small type often found on the sole, feel like tiny pebbles under the skin and are generally less painful than hard corns.
Starting home treatment safely begins with softening the corn to reduce the thickness of the skin gently. Soak your foot in warm, soapy water for 10 to 15 minutes to soften the corn and surrounding skin. Using a pumice stone afterward can help remove dead skin slowly and carefully, move the stone in circular motions for about two minutes, avoiding aggressive scrubbing which can damage healthy skin. Repeat this process up to three times a week. Avoid sharp instruments that could cause infection.
Applying protective padding after softening helps prevent further friction. This can be a doughnut-shaped corn pad, foam toe separators, or silicone sleeves, which you can find at most drugstores and typically cost between $5 and $15. These pads cushion the corn and redistribute pressure from walking or shoe contact. Wearing well-fitting shoes with a wide toe box lowers ongoing pressure, allowing your skin to heal faster.
Using over-the-counter treatments containing salicylic acid can help break down the thickened skin, but must be used carefully as overuse can harm healthy skin. Follow the package instructions strictly. Protect surrounding skin with petroleum jelly before applying the acid, and avoid salicylic acid if you have diabetes or poor circulation without consulting a healthcare provider.
Safe home treatment requires patience. Most corns improve through regular care over a few weeks. Do not expect overnight disappearance. If the corn causes increasing pain, shows signs of infection, or fails to improve after three weeks of treatment, seeing a doctor is important to avoid complications, especially if you have diabetes.
2. Types of Foot Corns and Their Common Locations
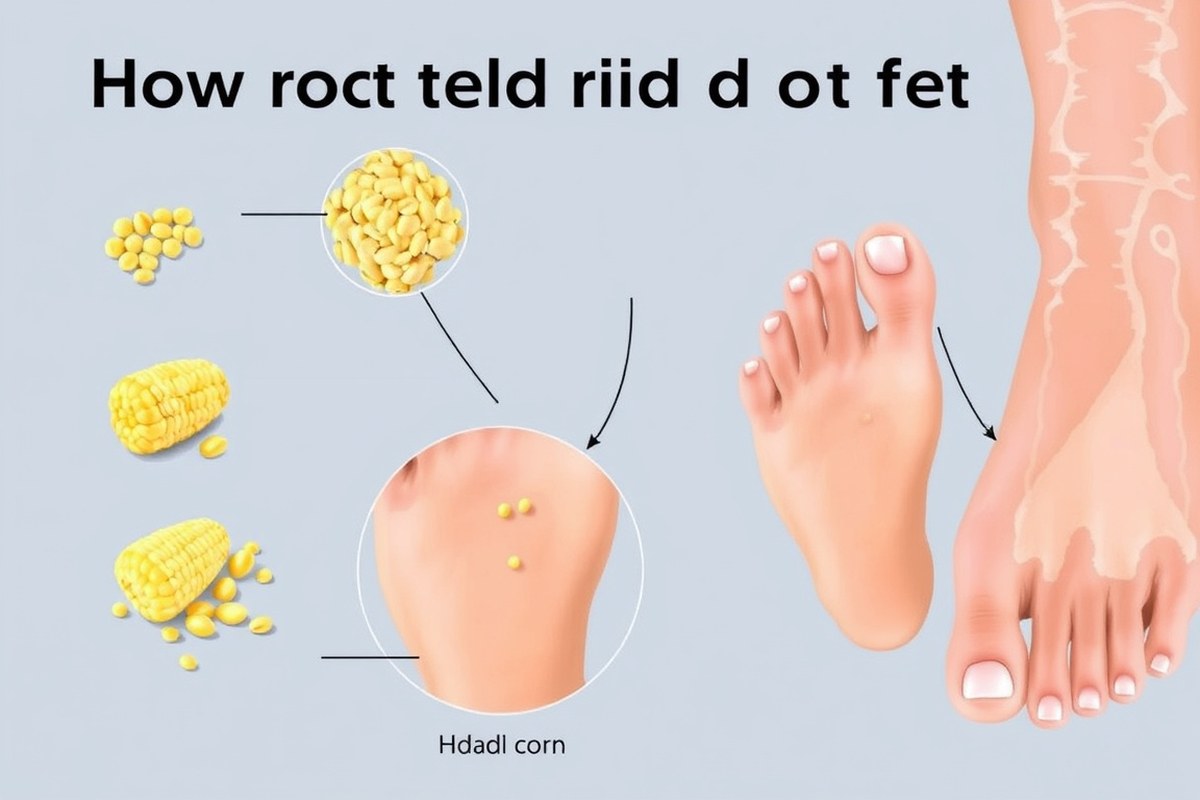
Foot corns appear as thickened, hardened areas of skin caused by repeated pressure or friction. Recognizing the type of corn you’re dealing with is key to effective treatment. There are mainly three types of foot corns: hard corns, soft corns, and seed corns. Each differs in texture, location, and symptoms, which influences how you should care for them.
Hard corns are the most common and usually form on the tops or sides of toes where the skin presses against tight shoes or bony prominences. They feel firm and dry, often with a dense core. Soft corns develop between toes, where moisture from sweat keeps the skin soft and rubbery. This moist environment makes soft corns look pale and feel pliable. Seed corns tend to appear as very small, clustered pits on the soles and are often painless until you put weight on them. They usually result from dry skin or clogged sweat ducts.
| Corn Type | Location | Texture | Common Cause |
|---|---|---|---|
| Hard Corn | Tops or sides of toes | Firm, dry, dense core | Tight shoes, bony prominences |
| Soft Corn | Between toes | Moist, rubbery | Friction between toes, narrow toe box |
| Seed Corn | Sole of foot | Small, multiple pits | Dry skin, blocked sweat ducts |
Knowing these differences helps you pick the right treatment approach. For example, soft corns may be linked to athlete’s foot infections, especially between the fourth and fifth toes, so keeping that area dry is important. Hard corns often respond to protective padding or adjustments in footwear, while seed corns might require moisturizing treatments to address dry skin.
Use a cotton wedge or foam spacer to reduce friction between toes and prevent soft corns from worsening.
Pay special attention if you notice painful or persistent corns. An untreated hard corn can develop into a fibrous corn, which is quite painful and harder to manage. Seed corns, although typically painless, may become uncomfortable under pressure and still require care. Early identification allows you to act before the corns worsen or lead to complications, especially if you have diabetes or poor circulation.
3. Causes of Corns on Feet and How Footwear Contributes
Corns on your feet develop as a response to repeated pressure and friction, mainly caused by footwear that doesn’t fit well or by abnormal foot mechanics. The skin thickens in these areas to protect itself, but this can lead to painful corns, especially on the sides and tops of toes and on weight-bearing spots. Shoes that squeeze your toes with a narrow or shallow toe box are the most common culprits. When your shoes don’t provide enough space for your feet, constant rubbing will cause corns to form and come back even after removal.
Shoes that are too tight or too loose both contribute to corn formation. Tight shoes press your toes against the shoe, causing constant friction, while loose shoes let your feet slide, increasing rubbing against the shoe’s interior. High heels narrow the front of the foot, focusing pressure on the toes and balls of feet. To reduce corn risks, choose shoes with a wide toe box that allow your toes to spread comfortably and use adjustable fasteners like Velcro or laces to secure fit without squeezing your feet. Shoes that cost $50 to $100 or more often offer better sizing and cushioning options, which helps prevent pressure points that cause corns.
Foot structure also plays a role. Conditions like bunions, hammertoes, or claw toes change how your weight distributes across your foot, often concentrating pressure on bony areas where corns form easily. Excessive pronation, where your arch collapses inward as you walk, places extra force on the front part of your feet, increasing corn likelihood there. Custom orthotic inserts or over-the-counter gel cushions, costing about $20 to $60, can redistribute pressure and reduce irritation. These cushions fit inside your shoe and protect the corn area while walking or exercising, easing pain and helping your skin heal.
Toenails that are too long or untrimmed may push your toes upward and force them to rub against the inside of your shoe. Keeping nails trimmed straight across and not too long prevents this mechanical pressure and lowers your chance of corns developing. Also, avoid wearing high heels more than a few hours since they increase pressure on toes. Persistent corns in the same spot call for an evaluation of your usual shoes. Stretching a shoe at the point of pressure or switching to a different style with more room can stop corns from returning.
Preventing corns involves addressing the source of pressure and friction. Wearing thick, moisture-wicking socks can reduce rubbing and keep feet dry to prevent skin irritation. Avoid applying moisturizer between your toes, which traps moisture and can cause fungal issues. Instead, apply cream sparingly on dry skin areas to keep them soft and less prone to thickening. Regularly inspecting your feet, especially if you have diabetes or foot deformities, helps catch pressure points early and prevents corns from worsening or causing further deformities.
4. Proper Soaking Methods to Soften Corns Before Removal
Soaking your feet properly softens the corn, making removal safer and less painful. Aim for 15 to 20 minutes per soak, using warm water and optionally adding Epsom salt or mild soap. Frequent soaking helps gradually reduce the corn’s thickness.
Recommended Soaking Duration and Frequency
Soak your foot for about 15 to 20 minutes at a time. This duration softens the hardened skin enough to allow gentle exfoliation without causing irritation. Keep the water temperature comfortably warm, roughly between 92°F and 104°F. Avoid water that’s too hot to prevent burns or redness.
You can soak your feet once or twice daily, depending on the corn’s severity. For milder cases, once daily is sufficient. When the corn is particularly thick or painful, soaking twice a day helps soften it faster, making subsequent removal easier.
Best Soaking Solutions for Different Corn Types
Warm water on its own softens corns effectively. Adding Epsom salt (magnesium sulfate) to the water improves this effect by drawing out inflammation and relaxing the skin. A common recommendation is to dissolve 1/2 cup of Epsom salt in a gallon of warm water. Soaking in this solution is especially helpful for painful or inflamed corns.
For general softening, use warm soapy water with a gentle, fragrance-free soap. This helps clean the area and reduce the risk of infection during removal. Vinegar soaks are less recommended for corns as they can irritate sensitive skin but may be considered for calluses after consulting a professional.
What to Do Immediately After Soaking
Right after soaking, gently pat your feet dry but leave the skin slightly damp. Use a pumice stone or a foot file to carefully rub the corn in circular or sideways motions. Do this slowly and avoid aggressive scraping to prevent skin damage.
Follow with a moisturizing foot cream or lotion to keep the area hydrated. When you use an over-the-counter corn removal product, this is the best time to apply it because the softened skin absorbs treatments better. Always wash your feet before and after any treatment to minimize infection risk. Here is a simple step-by-step routine to follow for soaking and softening corns:
- Fill a basin or foot bath with warm water, maintaining 92°F to 104°F.
- Add 1/2 cup of Epsom salt if desired and stir to dissolve.
- Submerge your foot and soak for 15 to 20 minutes.
- Gently dry your feet, leaving skin slightly moist.
- Use a pumice stone or foot file to softly rub the corn.
- Rinse your foot if needed and pat dry.
- Apply moisturizing lotion or a medicated corn treatment.
- Repeat once or twice daily based on how stubborn the corn is.
5. Safe Mechanical Removal: Using Pumice Stones and Files Correctly
Use a pumice stone or foot file gently to remove the hardened layers of a corn without damaging healthy skin. Avoid cutting or digging into the corn, as this can cause wounds and increase infection risk. Regular, careful filing after softening the skin keeps corns manageable and reduces discomfort.
Choosing the Right Tool for Removal
Select a pumice stone that has a medium grit or a foot file with a fine sanding surface for corns. Avoid metal files or blades at home, as they increase the chance of cutting too deeply. A well-shaped pumice stone fits comfortably in your hand and allows controlled friction.
A foot file designed specifically for calluses and corns provides consistent abrasion with less effort. You can find these tools at drugstores for about $5 to $15. Using abrasive tools meant for feet rather than makeshift items helps avoid unnecessary injury and irritation.
Step-by-Step Filing and Filing Frequency
Follow these steps after softening your feet in warm water or after a bath to gently exfoliate the corn without hurting your skin:
- Soak your feet in warm water for 10 to 15 minutes to soften the corn.
- Dry your feet thoroughly with a clean towel.
- Lightly rub the pumice stone or foot file over the corn in a circular or side-to-side motion.
- Apply gentle pressure; do not press hard enough to cause pain or bleeding.
- Stop the process once you see some of the hardened skin smoothing out, usually after a few minutes.
- Rinse your feet again and pat dry.
- Moisturize the area with a foot cream containing urea, which softens thickened skin.
- Repeat this routine 2 to 3 times a week to gradually reduce the corn’s thickness.
Do not file every day to avoid skin irritation or damage. Regular intervals allow the skin to heal between sessions while managing the corn’s thickness steadily.
Avoiding Common Pitfalls and Injuries
Never try to cut or dig out a corn at home, as this can lead to open wounds and infection. Use only gentle filing tools to gradually reduce hard skin. If you notice bleeding, pain, or redness that worsens, stop treatment and see a podiatrist.
Maintain hygiene by cleaning your pumice stone or foot file after each use and allowing them to dry. Avoid sharing these tools with others to prevent spreading infections. Wearing clean socks after treatment helps protect the skin while it recovers.
Do not use sharp blades or scissors to remove corns, this raises the risk of serious infection especially if you have diabetes or poor circulation.
6. Effective Over-the-Counter Treatments and How to Use Them
Over-the-counter treatments for corns mainly rely on salicylic acid to soften and gradually remove thickened skin. Salicylic acid works by chemically exfoliating the corn, making it easier to file down or peel away over several days. For safer and effective use, choose products with salicylic acid concentrations between 12% and 40%, but lower concentrations (12%-17%) are commonly available and recommended for home use.
Salicylic acid is found in liquids, gels, pads, and plasters. Pre-cut adhesive pads containing salicylic acid provide more controlled application by protecting the surrounding healthy skin, reducing the chance of irritation or burns. Liquid treatments carry a higher risk of spreading acid to healthy skin and may cause damage if misapplied, especially in sensitive areas or if you are new to corn removal.
| OTC Salicylic Acid Product | Concentration | Format | Best For | Notes |
|---|---|---|---|---|
| Pre-cut Corn Pads | 12%-17% | Adhesive pads | Controlled use, beginners | Built-in adhesive ring prevents acid spreading |
| Liquid Corn Removers | Up to 40% | Liquid or gel | Experienced users, resistant corns | Higher risk of maceration and skin damage if misused |
| Medicated Plasters (Physician-applied) | Up to 40% | Patches | Severe corns under medical guidance | Use under supervision to avoid complications |
Apply treatment only to the corn, avoiding surrounding healthy skin to prevent irritation or chemical burns. Use once or twice daily for up to two weeks. Begin by soaking your foot in warm water for 10, 15 minutes to soften the corn before applying the product. After applying the salicylic acid, cover the area with a fresh adhesive pad or bandage for better effect and protection.
People with diabetes, poor circulation, or sensitive skin should avoid salicylic acid treatments without consulting a healthcare provider. Damaged or infected skin can worsen quickly with improper use. Always follow the product instructions closely. Moisturize the area around the corn daily with a foot cream to help maintain skin health and prevent cracking.
Signs of proper treatment progress include gradual softening and reduction of the corn size over one to two weeks. If redness, severe pain, swelling, or signs of infection occur, discontinue treatment and seek medical advice. Using a pumice stone or file to gently remove softened corn layers can improve results, but never force removal to avoid injury.
7. When to Stop Home Treatment and Consult a Podiatrist
Stop home treatment and see a podiatrist if your corn does not improve after two to three weeks of consistent care, or if it worsens. Persistent pain, difficulty walking, or visible signs of infection like redness, swelling, warmth, or fluid discharge indicate the need for professional evaluation. Untreated or improperly treated corns can lead to deeper skin damage, infections, or ulcers, especially if you have diabetes or poor circulation, posing serious risks to foot health. For those with diabetes, avoid self-treatment altogether and contact a podiatrist immediately if you notice any corn, since you have a higher risk of infection and complications due to reduced sensation and slower healing. Use this checklist to decide if you should consult a podiatrist:
- The corn is painful and limiting your daily activities or walking ability.
- You notice signs of infection: increased redness, swelling, pus, or a foul odor.
- A corn has not improved or has worsened after 2, 3 weeks of home treatment.
- You have diabetes, neuropathy, or circulation problems, regardless of symptoms.
- The corn keeps recurring despite proper footwear and ongoing care.
- You experience numbness or tingling in your feet alongside the corn.
- The corn’s size or hardness is rapidly increasing.
Calling your foot specialist promptly lowers the risk of severe infections or complications. In many locations, visiting a private licensed podiatrist can cost around $100 to $250 per session, which may include debridement (professional trimming), advice on footwear, and sometimes custom orthotics. This investment can prevent hospital visits or surgical procedures down the line.
The podiatrist will examine your foot thoroughly, possibly remove the corn using sterile tools, and suggest long-term measures like offloading pressure points through custom insoles or footwear adjustments. For infected corns, they may prescribe antibiotics or debride the area to promote healing. If a corn proves resistant to treatment, surgical options can be discussed.
8. Preventing Corn Recurrence Through Footwear and Daily Care
Preventing corns from returning revolves around wearing the right shoes, keeping your feet clean and moisturized, and adapting your foot care routine to changes in lifestyle or seasons. Consistency in these habits reduces pressure points and keeps your skin healthy, making your feet less prone to developing corns again.
Choosing Supportive and Properly Fitting Shoes
Shoes that fit well and provide good support are essential for avoiding pressure and friction that cause corns. Select shoes with enough room in the toe box so your toes aren’t cramped, and avoid high heels or narrow designs that squeeze specific areas of your foot. Look for cushioned soles or consider orthotic inserts to evenly distribute pressure.
If you notice corns keep returning despite changing shoes, a podiatrist might recommend custom orthotics to correct foot misalignment or conditions like hammertoes or bunions. These supports can prevent repeated rubbing and pressure that lead to corns.
Daily Foot Hygiene and Moisturization
Maintaining clean, moisturized feet helps keep the skin soft and flexible, lowering the chance of corns forming. Washing your feet daily with gentle soap and warm water removes dirt and sweat. Thoroughly dry your feet, especially between the toes, to prevent fungal infections that can worsen foot skin.
Apply a thick moisturizer like a urea-based cream every night to soften hardened skin. Avoid lotions with alcohol or fragrances that can dry your skin. Use a pumice stone gently once or twice a week after soaking your feet to remove rough skin, but don’t overdo it, as this can irritate your feet. Try the following daily care routine to keep feet healthy:
- Wash your feet with warm water and mild soap each evening.
- Dry your feet completely, focusing on spaces between toes.
- Apply a moisturizing cream liberally to the entire foot, avoiding areas with open wounds.
- Inspect your feet daily for new corns, blisters, or redness.
- Wear clean, moisture-wicking socks to keep feet dry.
- Remove dead skin gently with a pumice stone once per week after soaking your feet for 10, 15 minutes in warm water.
- Change shoes and socks if they become damp from sweat or water.
Never share footwear or foot care tools to avoid spreading fungal infections that can damage skin and worsen corns.
Adjusting Care for Seasonal and Lifestyle Factors
Foot needs change with seasons. Hot weather can lead to sweating, causing soft skin that’s prone to blisters, while cold weather dries skin, making it hard and prone to corns. Increasing moisturizing in winter and wearing breathable shoes and socks in summer helps maintain healthy skin. For example, switch to moisture-wicking socks in warm months to keep feet dry and reduce friction.
Physical activity levels and footwear types also affect corn risk. Running or standing for long periods increases pressure on certain foot areas, so wear sport-specific shoes with proper cushioning. When using new shoes or changing activities, break in shoes gradually to reduce skin irritation.
Step-by-Step Action Plan to Get Rid of Corns on Your Foot
Follow these steps to safely identify, treat, and prevent corns on your feet. Watch for improvement at each stage before moving to the next action.
- Day 1: Identify the Corn, Examine your foot to confirm the area is a corn, noticing a small, hardened bump often on toes or sides of feet. Confirm that it feels painful when pressed but is distinguishable from calluses or warts.
- Day 1: Start Softening Soak, Soak your feet in warm, soapy water for 10 to 15 minutes to soften the corn. Check that the skin feels softer and less rigid afterward.
- Day 2: Use a Pumice Stone Gently, After soaking, gently rub the corn with a pumice stone in circular motions to remove dead skin. Notice if the corn area feels smoother but avoid pain or bleeding.
- Day 3: Apply Over-the-Counter Treatments, Use corn pads or salicylic acid treatments according to package directions. See if the corn decreases in size or discomfort over the next few days.
- Week 1: Evaluate Footwear, Switch to properly fitting shoes with enough toe space and cushioned soles to reduce pressure points. Assess if pressure on the corn area lessens during walking or standing.
- Week 2: Continue Daily Care, Repeat soaking and gentle filing every few days. Keep using protective padding if needed and monitor for signs of healing.
- After 2 Weeks: Know When to Consult a Podiatrist, If the corn remains painful, thickens, or you have diabetes or poor circulation, schedule a professional evaluation. Recognize that expert care is safer if home treatments don’t improve symptoms.
- Ongoing: Prevent Recurrence, Maintain foot hygiene, wear well-fitting shoes, and use moisture-wicking socks. Expect fewer corns with these daily habits over time.
Frequently Asked Questions
What Is the Quickest Way to Get Rid of Corn?
The quickest way to get rid of a corn is to reduce pressure or friction on it and use over-the-counter treatments containing salicylic acid. These soften the hardened skin over days, but corns don’t disappear overnight, so consistent care is necessary.
Can I Dig a Corn Out of My Foot?
You should never dig a corn out of your foot because it can damage the skin and cause infection. Instead, soften the corn with soaking and use gentle mechanical removal methods like a pumice stone.
What Draws a Corn Out?
Nothing specifically “draws out” a corn; treatment involves softening thickened skin and protecting the area from pressure. Regular soaking and using protective pads or cushions help corns gradually reduce.
Do Corns Eventually Go Away?
Corns can go away if the friction or pressure causing them stops. They may persist or worsen without proper foot care and footwear changes.
Can Corns Cause Permanent Damage If Left Untreated?
Corns usually don’t cause permanent damage but can become painful, develop infections, or cause ulcers, especially in people with diabetes.
Is It Okay to Use Home Remedies Like Vinegar or Lemon Juice on Corns?
Home remedies like vinegar or lemon juice are not recommended because their acidity can harm healthy skin and increase infection risk.
Before You Go
Getting rid of a corn on your foot starts with safe treatment and careful prevention to avoid future problems. Today, try switching to shoes with a wider toe box to reduce pressure that causes corns. This simple step can make a big difference in keeping your feet comfortable and corn-free.





One Comment