
How to Get Rid of Mold: 8 Complete Steps for Safe and Lasting Removal
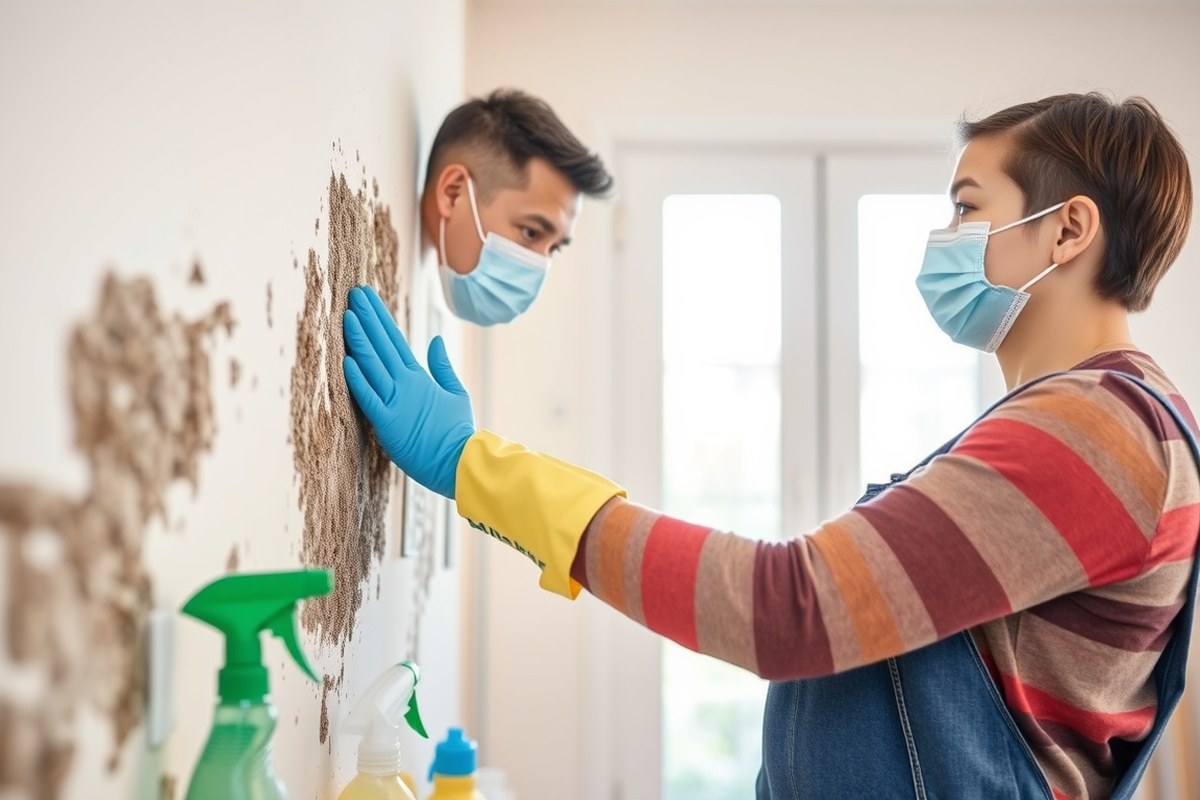
Knowing how to get rid of mold is essential for keeping your home safe and clean. You can safely remove most mold yourself using proper safety gear and effective methods like household bleach or natural treatments. Early cleanup and regular cleaning help prevent mold from spreading or recurring.
This article is for homeowners, renters, and DIY enthusiasts who have found mold in their living spaces. You’ll learn how to identify mold correctly, what safety precautions to take, detailed removal steps for various surfaces, and how to stop mold from coming back. It also covers when to throw away moldy materials and when to call in a professional. Plus, you’ll get tips on monitoring your home to ensure mold stays gone.
Key Takeaways
- Identify mold by looking for fuzzy or slimy spots in damp areas, often black, white, or green, and confirm with a musty smell.
- Wear gloves, goggles, and an N95 mask to protect yourself from mold spores during removal, especially in larger or stubborn infestations.
- Use undiluted, distilled white vinegar or hydrogen peroxide for effective mold removal, avoiding bleach on porous surfaces like walls.
- Spray moldy surfaces, wait 10 to 20 minutes, then scrub with a medium-bristle brush to remove mold without spreading spores.
- Maintain indoor humidity between 30% and 50% and keep areas dry to prevent mold regrowth and control moisture sources rigorously.
- Dispose of mold-contaminated porous materials like drywall or carpet when mold covers more than a 10×10-inch area.
1. What Is Mold and How to Identify It Correctly
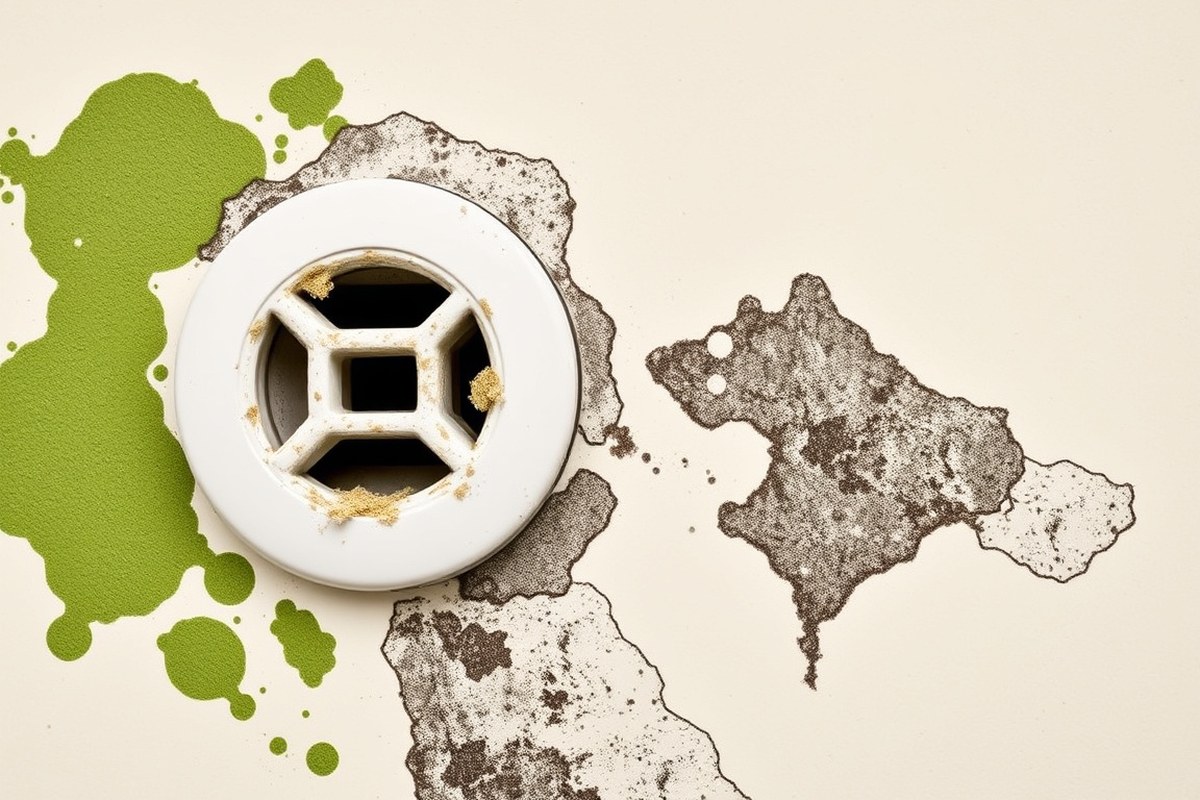
Mold is a type of fungus that grows in the form of multicellular filaments called hyphae. It differs from mildew, which usually appears as a thin, powdery, white or gray growth and has a drier texture. Mold can be various colors including black, green, blue, or brown, which helps distinguish it from mildew. Both mold and mildew thrive in damp environments, but mold tends to penetrate deeper into surfaces, causing more structural damage and health risks.
Recognizing mold rather than dirt or stains is key to handling it safely. Mold often forms irregular patches that appear fuzzy or slimy, depending on moisture levels. Dirt usually has a consistent pattern and texture and can often be wiped away easily, unlike mold which may stain surfaces. Testing with a household bleach solution can also help: bleach will usually clean dirt or mildew stains, but mold, especially black mold, typically requires more thorough treatment. When black, green, or dark spots grow near moisture sources like bathroom tiles or basement walls and resist regular cleaning, mold is likely present.
Mold exposure carries distinct health risks that vary greatly by individual sensitivity and the size of the infestation. People with compromised immune systems, asthma, allergies, or other respiratory conditions are at higher risk even with mild exposure. Common symptoms include sneezing, coughing, shortness of breath, and irritation of the eyes, skin, nose, or throat. Prolonged exposure to mold, particularly black mold, might worsen these symptoms or cause new health issues. The Centers for Disease Control and Prevention (CDC) advise seeking medical advice if symptoms persist or worsen after mold exposure, especially if you have pre-existing health conditions.
Identifying mold correctly involves a combination of visual inspection and awareness of the environment. Check areas prone to moisture, such as under sinks, around windows, in basements, and near HVAC units. Mold tends to grow in clusters and may produce a musty odor. When the affected area exceeds 10 by 10 inches, professional assessment is recommended because large mold infestations require specialized removal techniques to ensure health safety and prevent recurrence.
Knowing how to spot mold instead of dirt or stains allows you to act promptly to prevent damage and health risks. Regular cleaning of your home can reduce mold spores, but spotting mold early involves looking for fuzzy or slimy spots of various colors and checking for musty smells near damp areas. Mold’s ability to infiltrate porous materials sets it apart from simple stains, meaning it’s not something you can just scrub off in many cases.
2. Essential Safety Precautions and Personal Protective Equipment
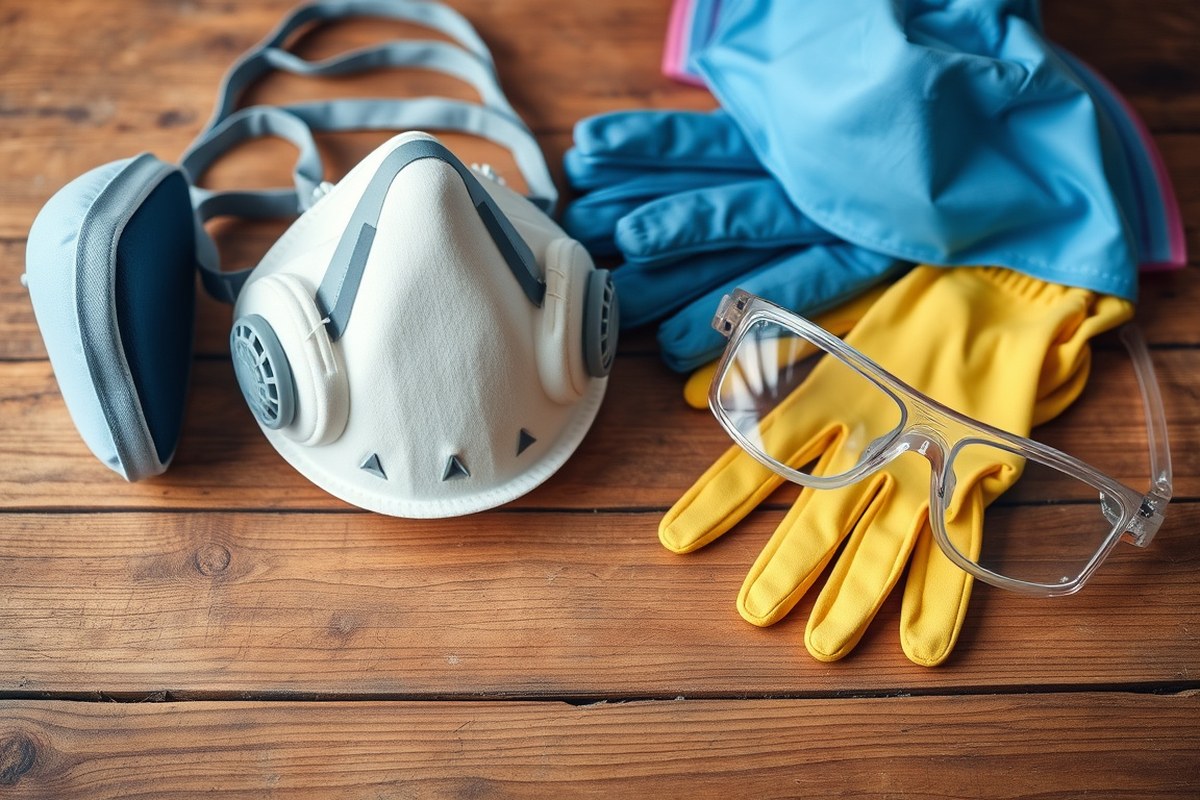
Taking safety precautions before removing mold is important for protecting your health and preventing the spread of spores to other areas. Mold exposure can cause allergic reactions like sneezing, skin rash, and irritation of your eyes, nose, or throat. You need personal protective equipment (PPE) to avoid direct contact with mold and to keep from inhaling spores or fumes from cleaning products.
Essential PPE includes gloves, a face mask or respirator, protective eyewear, and long clothing to cover your skin. Use rubber gloves to prevent mold from touching your hands. A respirator with a P100 or N95 rating works better than a simple dust mask because it filters fine mold spores. Safety goggles protect your eyes from spores and irritating cleaning solutions. Wearing long sleeves and pants reduces skin exposure. Here’s a practical checklist for PPE and safety steps before mold removal:
- Wear rubber gloves rated for chemical resistance
- Use a N95 or P100 respirator to filter mold spores
- Put on safety goggles or glasses
- Wear long-sleeved shirts and pants
- If possible, work with windows open or doors outside your living space to ventilate the area
- Use plastic sheeting to contain mold spores if working in a large area
- Take moldy fabric outside before cleaning to prevent spreading spores indoors
Before starting, turn off your HVAC system to avoid spreading spores through the air ducts. Cover vents with plastic if you can. Avoid dry sweeping or vacuuming moldy areas; instead use a HEPA vacuum if needed to capture spores securely. Also, keep children, pets, and immune-compromised individuals away from the work area.
Always take breaks outdoors during mold cleanup to breathe fresh air and reduce exposure to airborne spores.
Costs for PPE can vary. Disposable N95 masks cost around $1, 3 each, while reusable respirators with replaceable P100 filters are about $25, 50 plus filter replacements. Rubber gloves start at $5 per pair. These expenses are worthwhile for your health and effective mold removal. Skipping protective gear risks allergic reactions and spreading mold throughout your home, which only makes cleanup harder and more hazardous.
3. Comparing Mold Removal Solutions: Natural vs. Chemical Treatments
Several household items and commercial products can kill mold effectively, but their safety, cost, and surface suitability vary. Bleach is a well-known mold cleaner that disinfects surfaces by breaking down mold on nonporous materials but should be avoided on porous surfaces like drywall. Natural remedies such as white vinegar, baking soda, hydrogen peroxide, and tea tree oil are popular due to their safety and ability to penetrate porous materials better than bleach. Commercial mold removers often have added ingredients for faster action but tend to cost more than DIY solutions.
| Cleaning Agent | Effectiveness | Surface Suitability | Safety & Use Notes | Cost & Availability |
|---|---|---|---|---|
| Undiluted Distilled White Vinegar | Kills ~82% of mold species; good for white mold | Porous and nonporous surfaces (walls, wood, tile) | Use undiluted; leave on surface for 30-60 minutes. Non-toxic but strong odor | Cheap; easily found in grocery stores (under $1 per cup) |
| 3% Hydrogen Peroxide | Effective mold killer; penetrates pores; sit time 10-15 min | Nonporous and porous surfaces (walls, grout, wood) | Use undiluted; store in opaque bottle; avoid mixing with vinegar | Low cost; common pharmacy item (~$1-$3 per 16 oz) |
| Baking Soda and Water Solution | Mild disinfectant, deodorizes, lifts mold stains | Good for porous surfaces and delicate materials | Safe for pets and kids; often combined with vinegar or hydrogen peroxide | Very inexpensive; pantry staple ($0.50 per cup) |
| Bleach (sodium hypochlorite) with Water (1:10 ratio) | Kills mold on surface but does not penetrate deep | Nonporous surfaces like tile, glass, countertops; avoid drywall | Use with well-ventilated areas, gloves, and avoid mixing with ammonia | Moderate cost; widely available ($3-$5 per gallon) |
| Tea Tree Oil (diluted 1 tsp per cup water) | Strong natural fungicide; effective for black mold | Nonporous and porous surfaces; small areas | Expensive; may cause allergic reactions; requires ventilation | Expensive; ~$10-$15 per 1 oz bottle |
| Commercial Mold Removers | Formulated to kill diverse molds; usually fast acting | Varies by product; often safe for most hard surfaces | Follow label instructions; chemical ingredients may irritate skin/respiratory system | Higher price; $7-$20 per bottle depending on brand and size |
Bleach remains popular for cleaning mold on hard, nonporous surfaces, such as bathroom tiles and countertops. Apply a solution of 1 part bleach to 10 parts water, wet the moldy area, let it sit for 15 minutes, then scrub. Avoid bleach on drywall or wood; it won’t reach mold beneath the surface and may cause further damage. White vinegar and hydrogen peroxide are better suited for walls and porous materials. Spray the moldy area generously with undiluted hydrogen peroxide or vinegar, leave it for 10 to 60 minutes depending on the solution, then scrub with a brush. Baking soda can be used alone or combined with hydrogen peroxide to improve mold removal and deodorize surfaces gently.
Tea tree oil offers a natural but pricier option, useful especially for black mold and sensitive indoor areas, diluted to avoid irritation. Commercial mold removers can be efficient but usually cost more and may contain stronger chemicals, making them suitable for persistent or widespread mold problems. Choosing your solution depends on the surface, the extent of mold, budget, and your tolerance for fumes and odors. Always ventilate the area well and wear personal protective gear regardless of which method you use.
4. Step-by-Step Mold Removal for Different Surfaces
Mold can be cleaned from many household surfaces using specific methods tailored to the surface type, but certain porous materials like drywall and insulation usually need removal. Porous surfaces require gentle handling to avoid damage, while non-porous surfaces allow more vigorous scrubbing. Letting cleaning solutions sit for about 10 to 15 minutes helps loosen mold before scrubbing with the right brush or cloth, which varies by surface.
Removing Mold from Porous Surfaces
Porous materials like wood, drywall, and ceilings absorb moisture, which makes mold removal challenging. For drywall or insulation with mold, complete removal and replacement is often necessary since mold can spread inside. Wood can be cleaned but needs careful drying afterward to prevent further growth. Follow these steps for porous surfaces that can be cleaned:
- Identify and fix all sources of moisture or leaks before cleaning.
- Apply a mild cleaning solution such as dish soap mixed with warm water directly onto the moldy area.
- Let the solution sit for 10 minutes to break down mold.
- Use a soft cloth to gently scrub the area to avoid damaging the surface.
- Rinse with clean water and pat dry with a microfiber cloth.
- Ensure the area is thoroughly dried to prevent mold from returning.
- If drywall or insulation remains moldy or damaged, remove and replace it to avoid spreading mold inside walls.
Applying mold-resistant paint after cleaning can help prevent future growth on porous surfaces like walls.
Cleaning Mold on Non-Porous Surfaces
Non-porous surfaces such as tiles, vinyl, metal, and sealed countertops allow for stronger cleaning methods and scrubbing. Mold generally grows on the surface, so it can be removed more effectively. Using a scrubbing brush helps work cleaning solutions into crevices where mold hides. Use these steps for non-porous surfaces:
- Apply a detergent-based solution, like sugar soap or dish soap with warm water, directly to the mold.
- Let the solution sit for 10 to 15 minutes to loosen mold spores.
- Scrub vigorously with a stiff-bristled brush (about 2 to 3 inches wide) to remove visible mold.
- Rinse off with clean water and wipe with a damp microfiber cloth.
- Dry the area thoroughly, as any moisture left behind promotes mold growth.
- For items like shoes or door seals, rubbing alcohol or a bleach soak on a cloth can help kill mold stubbornly clinging to surfaces.
Non-porous surfaces generally tolerate scrub brushes without damage, but avoid abrasive pads that could scratch finishes.
Handling Moldy Fabric and Upholstery
Fabric and upholstery can absorb moisture and retain mold spores deeply, making them difficult to clean completely. Mold might cause a musty smell even after surface cleaning. Some materials, like leather, need special treatment after mold removal to avoid damage. Follow these cleaning pointers:
- Take smaller items outside and brush off loose mold spores before washing.
- For washable fabrics, use hot water with detergent and add a mold-killing solution, then thoroughly dry in sunlight if possible.
- For non-washable upholstery, dampen a cloth with rubbing alcohol or a diluted bleach solution and gently wipe the surface.
- Allow the fabric to dry completely in a well-ventilated area or in sunlight to reduce remaining mold spores.
- Condition leather only after fully drying, using a leather conditioner with a mold inhibitor according to the product instructions.
Delicate fabrics or heavily moldy cushions often need professional cleaning or replacement to avoid health risks.
Outdoor Mold Cleaning Techniques
Mold on outdoor surfaces like patio furniture, siding, and door seals grows mainly where moisture accumulates. Regular cleaning and drying help prevent mold from taking hold outside. Here’s how to clean outdoor mold:
- Prepare a bleach solution (usually one cup bleach per gallon of water) or use a detergent-based cleaner.
- Dampen a cloth or sponge with the solution and wipe moldy areas like door seals, siding, or outdoor furniture thoroughly.
- Let the solution sit for 10 to 15 minutes to kill the mold.
- Scrub surfaces with a brush appropriate to the material (soft brush for wood, stiffer for concrete).
- Rinse all solutions off with water and let the surfaces dry fully in sunlight.
- Remove and replace any outdoor materials that remain moldy or damaged after cleaning.
Sunlight is important outdoors because it helps dry surfaces quickly and reduces mold spores in the environment.
5. Preventing Mold Recurrence Through Moisture and Ventilation Control
To prevent mold from returning after cleaning, controlling moisture and ventilation is key. Mold thrives in environments where humidity levels exceed 50 to 60 percent. Keeping your home’s indoor humidity between 30 and 50 percent creates conditions that discourage mold growth. Use a hygrometer to measure humidity and adjust accordingly. In many cases, running a dehumidifier, especially in damp areas like basements or bathrooms, helps maintain these levels. Set your dehumidifier to keep humidity below 50 percent, but avoid overusing it, as improper use can cause uneven drying or create moist pockets that encourage mold.
Improving ventilation reduces moisture buildup. Open windows regularly to allow fresh air circulation, and use exhaust fans consistently in the kitchen when cooking and in bathrooms when showering. Exhaust fans vent humid air outside, preventing condensation on surfaces where mold can settle. Sleeping with the bedroom door open can also improve air movement and reduce overnight moisture buildup. During cooler seasons or in climates with cold, damp air, it’s especially important to ventilate regularly since cooler air holds less moisture, making indoor dampness more noticeable and persistent.
Drying surfaces thoroughly after cleaning is important. For example, if you clean mold from carpets, ensure both the carpet and padding are completely dry before replacing furniture or walking on the area. Mold can return quickly in any leftover dampness. Touch surfaces to confirm no moisture lingers and use fans or dehumidifiers to speed drying. Avoid cleaning mistakes such as using water excessively without proper drying or covering moldy areas without removing underlying moisture, as these tactics often cause mold to come back.
Seasonal and climate factors influence your mold control strategy. Humid summer months may require more frequent use of air conditioning or dehumidifiers, while colder seasons with less natural airflow might necessitate additional ventilation or portable fans. In arid climates, open windows might suffice to reduce moisture, whereas humid climates demand more rigorous dehumidification and ventilation to manage airborne and surface moisture effectively.
Consistently use exhaust fans during cooking and showering to vent moisture outside and keep indoor humidity low enough to stop mold. Never rely solely on opening windows if outdoor humidity is high.
6. When to Dispose Moldy Materials Instead of Cleaning Them
Mold can often be cleaned effectively from hard, non-porous surfaces like glass, metal, tile, and sealed countertops. These surfaces do not absorb moisture, so mold usually stays on the surface and can be scrubbed or wiped away safely. Porous materials such as drywall, ceiling tiles, carpets, upholstered furniture, insulation, and paper-based items often require disposal if mold growth is significant. Mold roots can penetrate deep into these materials, making thorough cleaning nearly impossible.
Porous items heavily damaged by mold usually cost less to replace than to restore, and keeping them can risk mold spreading back into your living space. It’s best to dispose of mold-infested porous materials whenever the mold covers more than a few square feet or when moisture damage is extensive. For example, if mold affects more than a 2-foot by 2-foot area on drywall, removal and replacement are recommended. Also, materials exposed to sewage require disposal due to health risks. When getting rid of moldy materials, follow these safe disposal practices:
- Wear long gloves and a mask to avoid touching or inhaling mold spores.
- Seal moldy items in plastic bags to prevent spores from spreading during transport.
- Remove and discard contaminated materials promptly after sealing them.
- Do not break or shake moldy materials to avoid releasing spores into the air.
- Dispose of sealed bags in your regular trash, following local waste regulations.
- Clean and disinfect areas where moldy materials were removed to reduce lingering spores.
- Dry the surrounding area thoroughly before installing replacements to prevent new mold growth.
Replacing moldy drywall or wood can range from low to moderate cost, depending on the size of the affected area and local labor rates. Keeping moldy porous materials risks recurring mold problems and potential health concerns such as headaches and respiratory irritation. When mold has taken root into surfaces, professional remediation often involves removing the materials and applying special coatings to surrounding areas for lasting results. Homeowners should call a professional if mold covers more than 10 square feet or if it is linked to serious water damage or sewage exposure.
7. How to Know When to Hire a Professional Mold Remediation Service
You should hire a professional mold remediation service when mold covers more than 10 square feet, appears on porous materials, results from contaminated water, or causes health symptoms. Handling large or complicated mold problems yourself risks incomplete removal and future growth. Professionals have the expertise and equipment to fully remove mold and repair damage safely.
Mold Size and Location Thresholds
Mold covering less than about 1 square meter (around 10 square feet) on non-porous surfaces like tile or glass can often be cleaned safely by homeowners using proper protective gear and cleaning agents. When mold exceeds this size, DIY removal becomes difficult and less effective. Porous materials, such as drywall, insulation, carpet, and subflooring, trap mold deep inside, making thorough removal nearly impossible without professional tools.
Widespread mold growth throughout multiple rooms or hidden mold identified by musty odors also calls for professional help. Mold in hard-to-reach areas or behind walls can continue damaging your home and affect indoor air quality.
Health Risks Indicating Professional Help
Health symptoms like persistent coughing, sneezing, eye irritation, or worsening allergies may indicate significant mold exposure. People with respiratory conditions, compromised immune systems, or allergies should avoid direct mold contact and rely on professionals for removal. A professional mold inspection or testing kit purchase can confirm the extent and type of mold involved, guiding safe removal.
Flood and Sewage Mold Considerations
Mold caused by floodwaters or sewage backup presents unique hazards. Contaminated water introduces bacteria and pathogens alongside mold spores, requiring specialized cleanup and disinfection methods. Handling such mold without professional training and equipment risks spreading contamination and exposure.
In these cases, the material that mold has grown on is often unsafe to salvage. Professionals assess damage, remove affected materials properly, and sanitize the area to prevent health hazards and future mold growth.
Preparing Your Home for Professionals
Before professionals arrive, clear access to the affected areas by moving furniture and belongings away. Make sure pets and children remain safely away from the work zone during cleanup. Documenting visible mold and damage with photos may help with insurance claims.
Shut off HVAC systems to avoid spreading spores during remediation. Follow any specific instructions given when scheduling the service for the best results.
- Clear pathways to mold-affected areas
- Remove or cover furniture and belongings nearby
- Keep pets and children away from work zones
- Turn off HVAC systems before arrival
- Document mold areas with photos for records
- Notify your insurance company if applicable
Professional mold remediation costs typically range from $500 to $6,000, depending on the size and severity of the infestation along with needed repairs. Mold involving flood or sewage contamination often falls at the higher end due to extensive cleanup. Prompt professional intervention saves money by preventing structural damage and health complications down the line.
8. Monitoring Mold Removal Success and Ongoing Inspection Tips
To confirm mold is fully removed, test cleaned areas for visible signs and odor, then monitor regularly for recurrence. Mold can regrow within days if moisture persists, so inspection every few weeks for several months is advisable. Avoid over-wetting materials during cleaning to prevent new growth.
Testing for Residual Mold Activity
Checking if mold is completely gone starts with a close visual and smell inspection. Mold often leaves a musty, earthy smell and visible stains. After cleaning, if the area lightens but then darkens again quickly, it indicates live mold spores remain.
For a more thorough test, you can use mold test kits available online or at hardware stores. These kits collect samples for lab analysis or show results on-site. Professional air or surface sampling is another option but tends to be more costly.
- Observe cleaned surfaces for dark spots or discoloration daily for the first week.
- Sniff the area for musty odors after it dries completely; persistent smells suggest mold presence.
- Use a mold test kit according to the instructions to detect hidden spores.
- Repeat testing after 1 to 2 weeks to confirm no new growth.
- Document results with photos and notes to track changes.
Never drench materials like memory foam during cleaning, as retained moisture encourages mold growth.
Scheduling Routine Mold Inspections
Because mold can regrow rapidly when moisture returns, regular checks on vulnerable areas are essential. Inspect damp locations, such as bathrooms, basements, and behind appliances, every 2 to 4 weeks for the first six months after removal.
Afterward, you can reduce inspections to monthly or quarterly, depending on your home’s humidity levels and history of mold problems. Keep cleaning and dusting frequently to remove dust and organic debris that feed mold spores.
Correcting Common Mold Removal Errors
One frequent mistake is using too much water or cleaner, which soaks materials and delays drying. Mold grows vertically and penetrates materials, so incomplete cleaning allows spores to persist and spread.
Another error is ignoring invisible areas like behind drywall or under flooring. Routine moisture checks and timely repairs of leaks can prevent hidden mold colonies. Avoid relying solely on bleach; it may remove surface stains but often does not kill all mold roots.
- Use cleaning solutions sparingly and rinse well with clean water afterward.
- Dry cleaned areas completely within 24 hours using fans or dehumidifiers.
- Inspect behind and beneath surfaces where moisture accumulates.
- Repair water leaks and improve ventilation to lower humidity.
- Avoid repainting or sealing walls before ensuring mold is fully removed and dry.
Failing to dry materials thoroughly after cleaning is the top reason mold returns quickly.
Step-by-Step Action Plan to Get Rid of Mold
Follow these steps to identify, remove, and prevent mold growth safely and effectively in your home.
- Before You Start: Identify mold by checking for spots that look black, green, or white and smell musty. Wear gloves, a mask rated N95 or higher, and goggles to protect yourself.
- Day 1: Choose the right removal method for the surface: use natural cleaners like vinegar on non-porous surfaces or approved chemical treatments for stubborn mold. Confirm removal by wiping away visible mold and odors.
- Day 2: Clean or discard moldy materials that cannot be salvaged, such as drywall or carpet with deep mold. Proper removal means no visible mold remains and no damp smell persists.
- Day 3: Dry all cleaned areas thoroughly using fans or dehumidifiers. Check for leftover moisture by touching surfaces and watching for condensation after drying.
- Week 1: Improve ventilation by opening windows, using exhaust fans, or installing vents in problem areas. Monitor for any musty odors or visible mold returning as a sign ventilation is adequate.
- Week 2: Inspect cleaned areas regularly over two weeks, looking for new mold spots or smells. Effective removal means no visible mold or odor returns during this period.
- When Needed: Hire a professional if mold covers more than 10 square feet, keeps returning despite your efforts, or if you have health concerns. A licensed specialist confirms effective and safe remediation.
Frequently Asked Questions
Can I Use Bleach to Get Rid of Mold on All Surfaces?
Bleach works well on non-porous surfaces but may not penetrate porous materials where mold can hide. Use products like hydrogen peroxide or vinegar on walls and fabrics for better results.
How Often Should I Clean My Home to Prevent Mold Spores?
Clean your home weekly to reduce mold spores and prevent growth. Regular cleaning captures spores before they settle and grow into mold colonies.
Is It Safe to Use Vinegar as a Mold Remover Around Pets?
Yes, undiluted distilled white vinegar is safe around pets and kills about 80% of mold species. Avoid mixing it with bleach or ammonia to prevent harmful fumes.
What Is the Best Way to Get Rid of Mold in the Shower?
Use undiluted white vinegar sprayed on the mold, let it sit 10 minutes, then scrub with a brush. Vinegar is effective on shower mold and is less harsh than bleach.
Can Mold Return After I Remove It Myself?
Mold can return if moisture and ventilation issues aren’t fixed. Controlling humidity and improving airflow prevent mold from growing back.
How Long Should Cleaning Solutions Sit on Mold Before Scrubbing?
Let the solution stay on mold for at least 10 minutes to kill spores effectively before scrubbing. This ensures the treatment works properly.
Wrapping Up
Getting rid of mold starts with careful identification and proper safety measures. You can immediately improve your home’s condition by checking damp areas for mold growth and addressing moisture issues promptly. Taking that first step today helps protect your space and health from future mold problems.



4 Comments