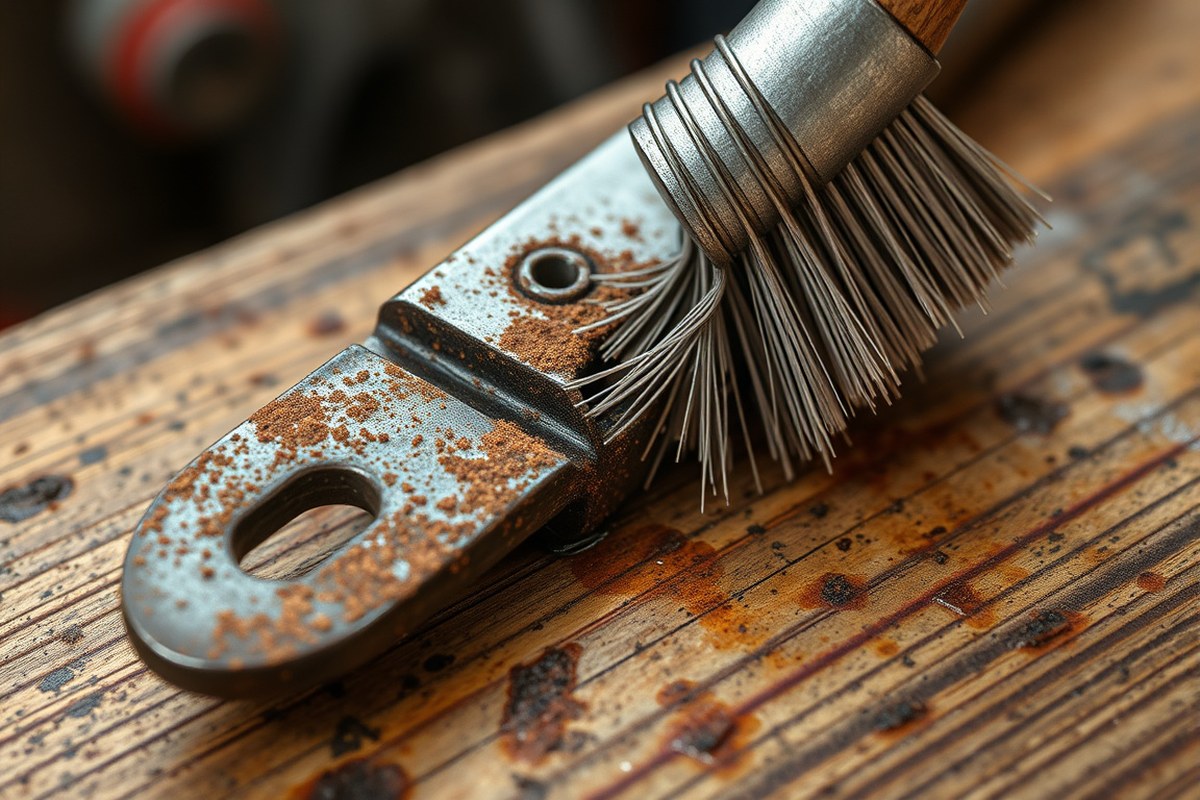
How to Get Rid of Rust on Metal: 8 Proven Methods That Work Fast
Removing rust from metal starts with knowing the right methods for your specific item and acting quickly before corrosion spreads. Using natural solutions like vinegar and lemon, mechanical tools such as sanding, or chemical rust removers can all be effective. How to get rid of rust on metal depends on the type of metal, the extent of rust, and whether you want to avoid harsh chemicals.
This article is for homeowners, DIY enthusiasts, and professionals tackling rust on tools, hardware, or household items. You’ll learn eight proven methods that work fast, how to prepare metal surfaces, prevent future rust, and pick the best option for your project’s needs and budget.
Key Takeaways
- Use white vinegar or lemon juice to soak smaller rusted metal pieces for up to 24 hours before scrubbing off rust.
- Apply a paste of baking soda and vinegar on rust, let sit 10-15 minutes, then scrub to remove rust from painted metal.
- Mechanical methods like sanding and wire brushing work well for heavy rust but may damage delicate metal surfaces.
- After rust removal, thoroughly dry metal and apply protective coatings like rust converters or paint to prevent future rust.
- Corroseal rust converter saves time by neutralizing rust and priming metal, suitable for large or severely rusted items.
- For stubborn rust, increase soaking time gradually and use scrubbing tools appropriate for the metal’s finish.
1. How to Remove Rust from Metal: Methods That Really Work
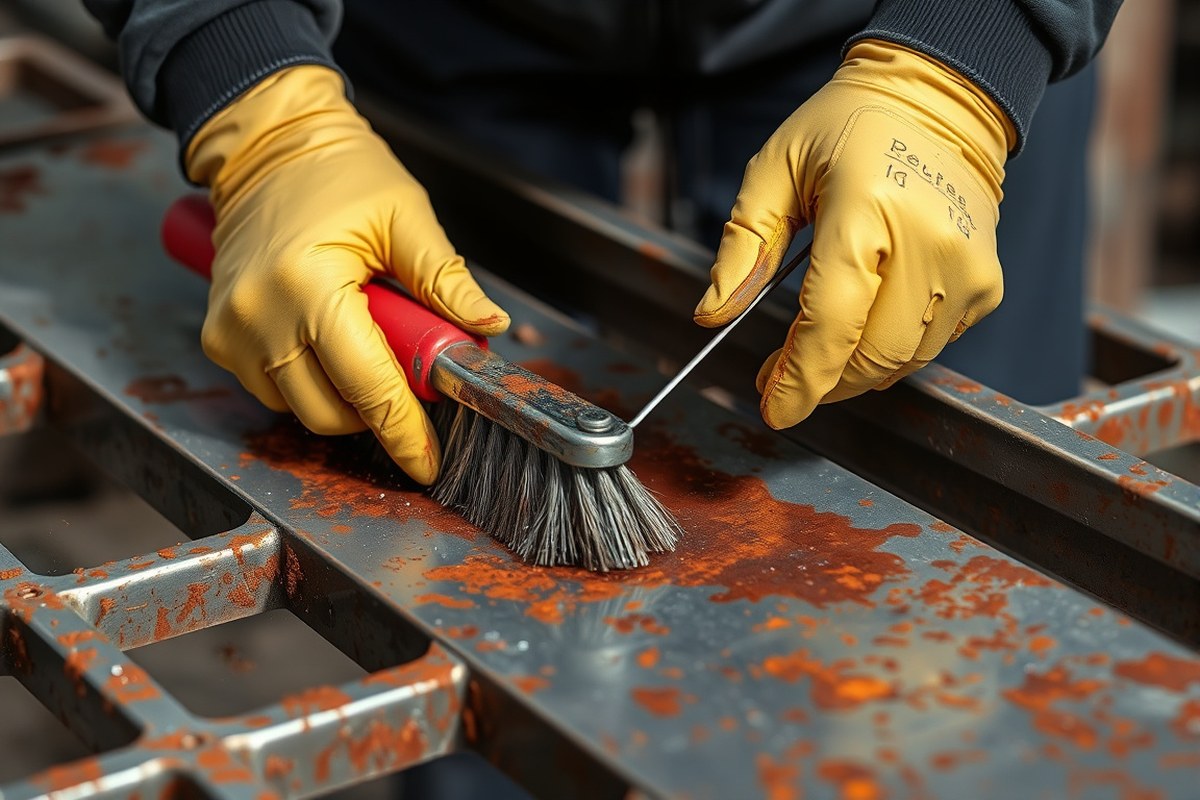
The fastest way to remove rust from metal depends on the extent of the rust and the metal type. For light rust, natural methods using household items like white vinegar or baking soda paste work well. Vinegar’s acetic acid dissolves rust, while baking soda acts as a mild abrasive and cleaner. To use baking soda, make a paste by mixing 1/4 cup baking soda with enough water to form a thick consistency. Apply it fully to the rusted area and scrub gently with a toothbrush or nylon brush for about 15 minutes before rinsing. This approach is cost-effective and safe for delicate items like kitchen tools or small hardware that can withstand gentle scrubbing.
For moderate rust on painted or sensitive metal surfaces, a mixture of 1/2 cup baking soda, 1/4 cup vinegar, and water can create a cleaning paste that lifts rust without damaging finishes. Let the paste sit on the surface for 30 minutes before wiping clean. This method balances mild chemical action with abrasion, making it suitable around painted parts.
Commercial rust removers offer a faster and stronger solution. These products are formulated specifically for rust and often contain chemicals such as oxalic acid or phosphoric acid, which convert rust into a stable compound or dissolve it quickly. They can work within minutes to hours, depending on the formula and rust severity. However, follow all instructions carefully and ensure the product suits your metal type, since some removers might harm aluminum or painted surfaces. While they cost more, usually around $10 to $20 per bottle, commercial removers save time for medium to heavy rust and are ideal when natural remedies aren’t effective.
For severe rust, mechanical methods like sanding, wire brushing, or grinding become necessary to remove rust down to bare metal. Using sandpaper or a wire brush by hand works well for small areas but can be labor-intensive. Power tools fitted with a wire wheel, flap disc, or sandblaster speed up the job and produce smooth results. These require protective gear and some skill, especially to avoid damaging the metal. Mechanical removal is essential for restoring structural parts, tools, or outdoor equipment with thick, flaky rust layers that chemical or DIY methods cannot penetrate.
Choosing between these approaches depends on your situation. Start with natural methods like vinegar or baking soda paste for light rust and small household items. Move to commercial rust removers for faster results on moderate rust, particularly on unpainted metal. Use mechanical methods when rust is deep or widespread, and you want a thorough, lasting solution. Always clean and dry the metal after rust removal to prevent new rust from forming.
2. Choosing the Best Rust Removal Method for Your Metal
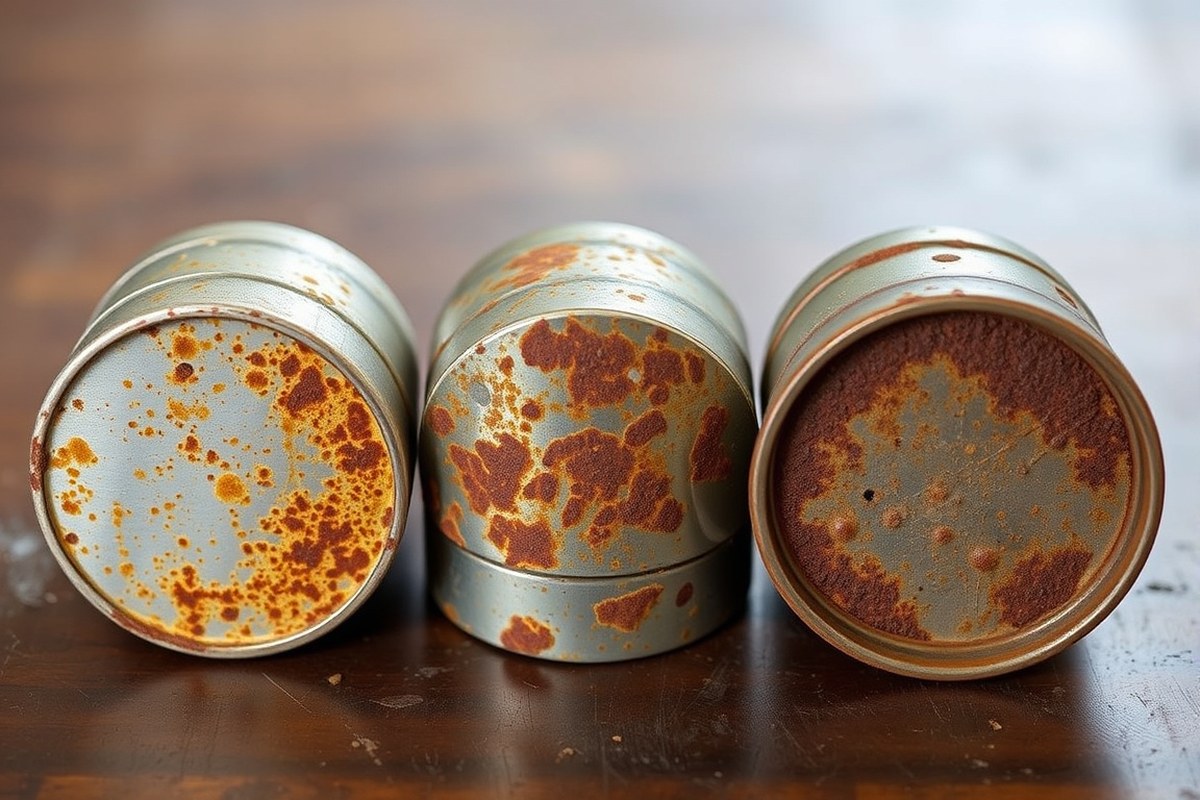
Not all metals rust the same way. Rust typically forms on iron and iron alloys like steel when exposed to water and oxygen. Metals like aluminum and stainless steel corrode differently and don’t develop traditional rust. Knowing your metal type helps you pick the most effective removal method. For example, soaking steel tools in white vinegar breaks down rust, but this can harm delicate metals if left too long.
Severity matters too. Light surface rust on small items can often be removed in a few hours with lemon juice and salt, while heavy rust may require overnight soaking in vinegar or a commercial rust remover soak. Larger surfaces call for scrubbing with steel wool or sanding after soaking. Quick fixes work for minor rust and small objects, but long-term solutions like rust converters or protective coatings suit severe rust on structural metal.
Smaller metal items like knives, pots, or tools fit well into containers for soaking in solutions. Up to 24 hours soaking in cola or vinegar softens rust, then scrubbing with a toothbrush or aluminum foil reduces residue. Large metal surfaces usually don’t fit in containers, so methods relying on abrasion or rust conversion save time over soaking. Plan for longer periods if your object is heavily rusted or when using mild natural remedies.
| Remedy | How It Works | Best For | Watch Out |
|---|---|---|---|
| Potato with Salt or Baking Soda | Oxalic acid dissolves rust | Knife blades, pots, pans | Apply gently to avoid scratches |
| Lemon Juice with Coarse Salt | Citric acid plus abrasion | Small spots, light rust | Do not soak too long, prevents metal damage |
| Lemon Juice with Vinegar | Combined acids, stronger effect | Stubborn rust spots | Can harm metal if left too long |
| White Vinegar Soak | Acetic acid dissolves rust | Small to medium sized steel objects | Soak 4 to 24 hours, avoid prolonged exposure to delicate metals |
| WD-40 Rust Remover Soak | Chemical rust dissolving without scraping | Heavily rusted metal, precise restoration | Costlier, follow manufacturer instructions |
Never leave acidic solutions on your metal longer than recommended; extended exposure can permanently damage the metal beneath the rust.
Follow the timeline for soaking closely to avoid damage. For mild rust, 2 to 4 hours in lemon juice or vinegar should suffice, followed by gentle scrubbing with a soft brush or aluminum foil for thin metals to avoid scratching. Severe rust on iron-based metals often benefits from soaking overnight (about 12 to 24 hours) in vinegar or cola before scrubbing with steel wool or sandpaper. For large metal surfaces, focus on mechanical abrasion combined with rust converters rather than soaking to save time and reduce chemical use.
Your choice depends on metal type, rust severity, object size, and your timeline. Small household items can endure longer soaking safely, while large tools or surfaces need faster or mechanical methods. For quick fixes on lightly rusted items, scrubbing with an abrasive and short acid exposure often works well. Expect longer, more involved treatments for heavier rust or valued metal pieces.
3. Step-by-Step Rust Removal: Preparation to Prevention
Removing rust safely and effectively requires careful preparation, a thorough cleaning process, proper rinsing and drying, and finally, applying a protective coating to prevent future corrosion. Each step plays a important role in restoring metal items and extending their lifespan.
Gathering Tools and Safety Gear
Start by assembling the necessary tools like wire brushes, rust remover chemicals or natural alternatives, steel wool, and scrub pads. For safety, wear rubber or nitrile gloves to protect your skin from irritants and safety glasses to shield your eyes from splashes. Work in a well-ventilated area to avoid inhaling fumes, especially if using chemical rust removers.
Proper safety gear helps prevent chemical burns or inhalation of harmful dust. Avoid using harsh chemicals such as hydrochloric acid or chlorine bleach, which can damage metal surfaces and pose health risks.
Cleaning and Soaking Procedures
Before applying any rust remover, wipe down the metal surface to remove loose dirt and grease. For heavy rust, soaking the item in a rust-dissolving solution can break down corrosion. Lightly scrubbing with a metal brush or steel wool after soaking improves rust removal by loosening stubborn deposits.
The soaking time varies with the severity of rust. Light rust might dissolve within 30 minutes, while heavy rust could need several hours or even up to 24 hours. For example, soaking a rusty hand tool overnight in a vinegar solution can effectively soften rust for easier scrubbing.
Rinsing and Thorough Drying
Rinsing is essential to remove rust residues and any leftover chemicals from the surface. Use hot water where possible, as heat helps break down residues more efficiently. Stainless steel and most iron tools benefit from a hot water rinse.
Once rinsed, dry the metal completely using a clean cloth or towel. Moisture left on the metal invites new rust formation. For particularly large or complex items, consider using a hair dryer or heat gun on a low setting to ensure total dryness.
Applying Protective Coatings
Applying a protective coating after rust removal prevents rust from returning quickly. Options include rust-inhibiting paint, specialized sealants, oils, or waxes. Choose oil or wax coatings for tools or items not used with food. Paint or sealants are better for visible metal surfaces needing longer-lasting protection.
Keep metal tools and items clean and dry during storage. Storing them in a cool, dry place with low humidity helps reduce the likelihood of rust. Regularly cleaning metal objects and applying a light coat of protective oil every few months can significantly extend their rust-free life.
- Put on gloves, safety glasses, and ensure good ventilation in your work area.
- Remove loose dirt and grease from the metal surface with a cloth or brush.
- Apply a rust remover solution, or soak the item based on rust severity (30 minutes to 24 hours).
- Scrub the rusted area vigorously with steel wool or a metal brush after soaking.
- Rinse the metal surface with hot water to remove rust and residual chemicals.
- Dry thoroughly with a cloth, towel, or low-heat air tool until no moisture remains.
- Apply a protective coating: paint, sealant, oil, or wax according to item use.
- Store cleaned metal in a dry, cool place and maintain regular cleaning and reapplication of protection.
4. Natural Rust Removers: How Vinegar, Lemon, and Potato Work
Natural rust removers like vinegar, lemon juice, and potato work by breaking down iron oxide, the chemical compound that causes rust. These items use mild acids or enzymes to dissolve rust without harsh chemicals, making them safe for delicate metal surfaces. Proper soaking times and thorough rinsing are essential to avoid damaging the metal beneath the rust.
Acidic Action of Vinegar and Lemon Juice
Vinegar and lemon juice contain acetic and citric acids, respectively, which dissolve rust by reacting with iron oxide and loosening it from the metal surface. To use vinegar, soak small rusted items in white vinegar for about 30 minutes to a few hours, depending on the severity of the rust. Larger items can be soaked or wiped with vinegar, but avoid prolonged exposure beyond a few hours to prevent acid damage.
Lemon juice combined with salt improve rust removal because the salt acts as a mild abrasive while the acid chemically breaks down the rust. Spread salt over the rusted area, then apply lemon juice and let it soak for up to two hours. After soaking, use a cloth or brush to scrub away loosened rust before rinsing thoroughly. Rinse immediately after to stop the acid from eating into the metal, and dry the item completely to prevent new rust from forming.
Enzymatic Effects of Potato and Salt
Potatoes contain an enzyme called catecholase, which can react with rust when combined with salt to form a mild rust remover. Cut a raw potato in half, sprinkle salt on the cut surface, and rub it directly onto the rusted area. The salt works as a gentle abrasive, and the potato enzyme helps break down rust particles. This method is ideal for light surface rust and small tools or household items.
This technique is less aggressive than acid soaking and reduces the risk of damaging delicate metals or finishes. It usually requires some scrubbing and repeated applications over several minutes to be effective. Afterward, rinse the metal thoroughly and dry it to avoid moisture retention, which can contribute to more rust.
Common Misconceptions About Cola and Ketchup
Cola and ketchup are sometimes suggested for rust removal because they contain mild acids like phosphoric and acetic acids. While cola can soften rust, it generally requires soaking for several hours, and its sugar content can make rinsing difficult and attract dirt. Using cola is best reserved for small objects where thorough washing afterward is possible.
Ketchup’s acidity and salt content might remove very light rust stains, but it is not practical for serious rust removal on metal tools. Its thick consistency makes it messy and hard to rinse off completely, which can leave a sticky residue that promotes further corrosion if not cleaned properly. Overall, cola and ketchup work more slowly and less effectively than vinegar or lemon juice, so they are best as last-resort or light cleaning options.
5. Mechanical Rust Removal: Sanding, Scrubbing, and Grinding Tools
Mechanical methods like sanding, scrubbing, and grinding become necessary when rust is severe and cannot be removed by mild chemical or natural treatments. These methods physically strip rust from the metal’s surface, restoring the metal quickly but requiring more effort and care. They also allow you to remove both rust and old paint if needed, but caution is required to avoid damaging the underlying metal or surrounding finishes.
Choosing the Right Abrasive Tools
For heavy rust, power tools such as grinders, sanders, oscillating tools, or drills fitted with abrasive attachments work best. Coarse abrasives, like 60 to 80 grit sandpaper or grinding discs, are effective at removing thick rust and flaking paint. For finer work or lighter rust, use finer abrasives like 120 to 220 grit to avoid scratching the metal. Handheld abrasives such as steel wool or wire brushes also help scrub away rust physically, especially in small or delicate areas where power tools are too aggressive.
It is important to start with the most appropriate abrasive strength: beginning too coarse on a fragile item can gouge the metal, while too fine abrasives take longer and may leave rust behind. For restoring home improvement tools with heavy corrosion, a grinder with a flap disc can quickly remove rust and old coatings, with costs for disks typically around $10 to $20 each. Hand abrasives cost much less but require more elbow grease.
Techniques for Painted vs Unpainted Metal
Unpainted metal can withstand aggressive mechanical removal. Grinding or sanding down to bare metal usually works well to take off deep rust patches and prepare the surface for refinishing. For painted metal, use gentler methods first because mechanical abrasion easily damages or removes the paint layer along with rust. Scrubbing with lemon rind, steel wool, or fine sandpaper can remove surface rust without stripping paint. Avoid grinding or sanding painted parts unless you intend to remove the paint completely.
When you do need to remove rust from painted metal without ruining the paint, apply gentle pressure and test a small hidden spot first. Work with finer abrasives and stop as soon as the rust disappears. After treatment, rinse and dry the surface thoroughly to prevent new rust formation. This approach takes more time but preserves the paint finish.
Safety Gear and Best Practices
Mechanical rust removal produces metal dust and abrasive particles which can irritate skin, eyes, and lungs. Always wear safety glasses or goggles, a dust mask or respirator rated for fine particles, and work gloves. Long sleeves help protect skin from flying debris. Use tools away from flammable materials as sparks may be generated, especially with grinding.
Secure the metal object before starting, and control dust by working in a ventilated area or using a shop vacuum nearby. Take breaks to check your progress and adjust pressure or abrasive grit accordingly. Consistent, firm strokes remove rust efficiently without gouging the metal below. If using power tools, read all manufacturer safety instructions carefully.
Always wear eye protection and a mask while sanding or grinding rust to prevent injury from flying particles and dust inhalation.
6. Preventing Rust After Removal: Storage and Protective Coatings
Keeping metal rust-free after cleaning starts with thorough drying and proper storage. Moisture is the main cause of rust, so always dry metal tools and equipment completely before putting them away. Use a clean, dry cloth to wipe off any water after use and let items air dry in a well-ventilated area if possible. Avoid storing metal in damp basements or unheated garages where humidity tends to be high. Instead, opt for storage areas with controlled climate or use moisture absorbers, like silica gel packs, near metal surfaces to reduce exposure to humidity.
Applying protective coatings can prevent rust by sealing the metal from oxygen and moisture. Common choices include oils like motor oil, mineral oil, or specialized tool oils that create a thin hydrophobic layer on the metal surface. For example, spraying WD-40 or applying a light coat of paste wax on hand tools and garden equipment can slow rust formation at a cost of about $5 to $10 per can or jar. Oil coatings need reapplication after heavy use or cleaning, so check and maintain them regularly.
Rust converters are products designed to chemically convert existing rust into a stable, inert black coating that prevents further rusting. These are useful when removing all rust is not practical, like on larger objects or intricate parts. Rust converters usually come as a liquid or spray, and you apply them directly on rusty metal after removing loose rust. They cost around $10 to $20 per container and dry within hours. Use rust converters only on metal with visible rust, as they are not meant for clean metal surfaces. After the converter dries, you can paint or seal the surface to improve protection.
Different storage situations require specific care. For outdoor tools or equipment, clean off dirt and moisture after each use, then coat with oil or wax before storing them in a dry shed. Tools stored in toolboxes should be wiped down regularly and can benefit from moisture absorbers. For seasonal items like lawnmowers and snow blowers, carry out a full cleaning and oiling at the end of the season before storing them in a covered, dry location.
Applying protective coatings is most effective when metal is clean and completely dry. Dirt or moisture trapped under oil or sealant can accelerate rust instead of preventing it. Expect to reapply oils every few months, especially after heavy handling or exposure to rain. Using rust converters saves time on tough rust spots and extends the life of old tools, but always follow product instructions carefully and consider wearing gloves and working in ventilation. Proper drying, storage, and coating together create the best defense against rust returning.
7. Troubleshooting Stubborn and Recurring Rust Problems
Knowing when all the rust has been removed depends on observing the metal’s surface closely. Rust is gone once you see clean, bare metal without any orange, brown, or flaky patches. Check especially in corners, joints, and textured areas where rust tends to hide. After removal, the metal should appear uniform in color and texture. Spots or roughness remaining on the surface indicate rust underneath.
Common mistakes when removing rust often lead to incomplete results or even damage to the metal. These include rushing the process, using the wrong tools or rust removers for your metal type, and failing to test removers on a small area first. Not drying the metal properly after cleaning or skipping protective coatings can cause rust to return quickly. Fix these by being thorough, choosing the right method, allowing sufficient time for treatments, and protecting the metal afterward.
Rust that returns shortly after cleaning is usually flash rust, a thin layer that forms in minutes or hours when moisture contacts bare iron or steel. This happens when the metal isn’t sealed or stored in dry conditions. Avoid flash rust by applying a rust inhibitor, paint, or a protective coating immediately after cleaning. For metal stored outside or in humid areas, regular inspections and maintenance reduce recurring rust. Try these tips based on your situation to troubleshoot stubborn or returning rust:
- For large or heavy objects, use power tools like wire wheels or strip discs to remove rust thoroughly without damaging the metal.
- Test vinegar or lemon juice removers on a small spot before full application to ensure no damage to sensitive metals.
- After cleaning, dry the metal with a towel and air dry in a warm, dry area to prevent immediate rusting.
- Apply a protective layer such as oil, paint, or a commercial rust inhibitor right after rust removal to block moisture.
- When rust returns quickly, check for moisture exposure points and improve storage conditions with dehumidifiers or covers.
- Re-treat any stubborn rust spots with repeated applications, scrubbing gently between treatments to avoid scratching.
Addressing all these factors takes time and care but results in lasting rust removal. Most solutions involve low-cost household items like vinegar or lemon juice and basic tools. Persistent rust may require multiple treatments and protection steps, but attention to detail prevents damage and extends the metal’s life.
8. Comparing Costs and Environmental Impacts of Rust Removal Options
You will find that commercial rust removers and homemade options differ significantly in cost, effectiveness, safety, and environmental impact. Commercial removers often contain strong acids like phosphoric acid that act quickly and thoroughly on medium rust. Homemade solutions typically use milder acids such as vinegar or lemon juice, which take longer but are safer to handle and better for the environment.
Understanding these differences helps you pick what fits your project and values. For example, if you need fast, heavy-duty rust removal on tools or parts, a commercial product may be worth the cost. For lightly rusted items or smaller jobs, a natural homemade solution can be more budget-friendly and less toxic. WD-40, while excellent at preventing rust, does not effectively remove it but can help stop corrosion after rust is treated.
| Rust Removal Option | Cost (Approximate per Use) | Effectiveness | Safety Considerations | Environmental Impact |
|---|---|---|---|---|
| Commercial Acid-Based Removers (e.g. Metal Glo, Rust-Oleum Rust Dissolver Gel) | $5 – $15 | High for medium to heavy rust; fast action | Requires gloves, eye protection, and good ventilation | Contains strong acids; disposal must follow local hazardous waste rules |
| Homemade Natural Acids (Vinegar, Lemon Juice) | Under $1 (common household items) | Moderate; best for light to medium rust; slower process (several hours or overnight soak) | Low risk; mild acids; safe for most surfaces | Biodegradable and environmentally friendly |
| WD-40 | $0.50 – $1 per application | Low; does not remove existing rust well | Generally safe with normal use; avoid inhalation and skin contact prolonged | Oil-based spray; moderate environmental concerns if overused |
Safely applying commercial rust removers means working in a well-ventilated area and wearing protective gear. Follow product instructions closely to avoid damage to metal or surrounding materials. Homemade methods require patience: soak the metal in vinegar or lemon juice for 4 to 12 hours, then scrub off loosened rust with a brush. Rinse thoroughly and dry to prevent new rust. WD-40 should be used only after rust removal to coat metal and slow further corrosion.
Avoid mixing commercial rust removers with homemade acids or alkaline cleaners to prevent dangerous chemical reactions and damage to your metal.
Choosing between commercial and homemade rust removers comes down to your specific needs. Consider how much rust is present, your budget, and your comfort working with chemicals. With all options, proper disposal and safety precautions lessen environmental impact and protect your health while keeping your metal items in good condition.
Step-by-Step Action Plan for Removing and Preventing Rust on Metal
Follow this structured plan to remove rust effectively, protect your metal items, and avoid future corrosion. Each step guides you through practical actions and checks for success.
- Before You Start: Assess the metal object’s condition and select the rust removal method that suits its size, severity, and type. Choose vinegar or lemon for light, small items and mechanical or chemical methods for heavy rust. Confirm the choice by testing a small, hidden area for safety.
- Day 1 – Prepare Your Workspace and Materials: Gather protective gloves, rust remover (natural or chemical), scrubbing pads, sanding tools, and cleaning supplies. Set up ventilation and cover your workspace. You’re ready when all materials are on hand and the area is safe.
- Day 2 – Remove Rust: Apply the chosen method, immerse small parts in vinegar or scrub larger surfaces with sanding tools. Allow natural removers to soak at least 3, 6 hours. Check progress by wiping the surface; rust should loosen or disappear.
- Day 3 – Clean and Dry Thoroughly: Rinse metal with water and dry completely using a towel or air drying. No visible rust flakes and dry surface confirm readiness for protection.
- Day 4 – Apply Protective Coating: Coat the metal with rust-inhibiting primer, paint, oil, or wax depending on the item’s use. Ensure full, even coverage. Protection is effective when the coating dries uniformly without peeling.
- After 1 Week – Inspect and Maintain: Check metal for any signs of rust return or coating damage. Repeat cleaning or reapply protective layers on any weak spots. Success means no new rust appears and coating stays intact.
- Ongoing – Store Properly and Monitor: Keep metal items dry and in low humidity areas. Use silica packets or dehumidifiers for enclosed spaces. Regularly inspect and address minor rust early to extend metal life.
Frequently Asked Questions
What Is the Fastest Way to Remove Rust from Metal?
The fastest method is using a commercial rust remover like WD-40 Rust Remover Soak that dissolves rust quickly without scrubbing. These products restore metal surfaces efficiently but follow the instructions for the best results.
Can I Use Cola to Remove Rust from Metal Objects?
Yes, soaking rusted metal in cola for up to 24 hours can help loosen rust, making it easier to scrub off. The mild acids in cola react with rust but may require additional mechanical cleaning.
How Do Rust Converters Work on Metal Surfaces?
Rust converters chemically transform iron oxide into a stable, paintable surface without removing the rust. Use them only if you plan to paint over the metal, as they don’t eliminate rust but prevent further corrosion.
Is Baking Soda Effective for Removing Rust?
Baking soda paste can remove light rust by covering the area and scrubbing after it sits for a while. It’s gentle and safe for many metals but may not work well for heavy rust buildup.
Can Lemon Rind Remove Rust Without Damaging Metal?
Yes, lemon rind scrubs off rust after soaking the metal in lemon juice for about 2 hours. It’s strong enough to remove rust but mild enough to preserve the metal’s surface.
What Should I Do to Prevent Rust from Returning After Removal?
Store metal items in dry conditions and apply protective coatings like paint or oil to prevent moisture exposure. Regular cleaning and drying after use also reduce rust recurrence.
The Bottom Line
Removing rust from metal is achievable with the right approach, whether through natural methods, mechanical tools, or protective coatings. Start by assessing the extent of rust on your items and choose a method that fits the metal type and condition. Today, gather basic supplies like vinegar and a wire brush to test a small rust removal technique on a less visible area, preparing you for larger projects ahead.